
Last summer I realized I didn’t have any summer garments that I made. This winter when I wore all of my wool sweaters, hand knit hats, cuddled in my crochet blankets, and wrapped into all of my cowls and scarves I really noticed the tip in balance between winter to summer projects. So, I began to think of what I would like to have for the warmer months.
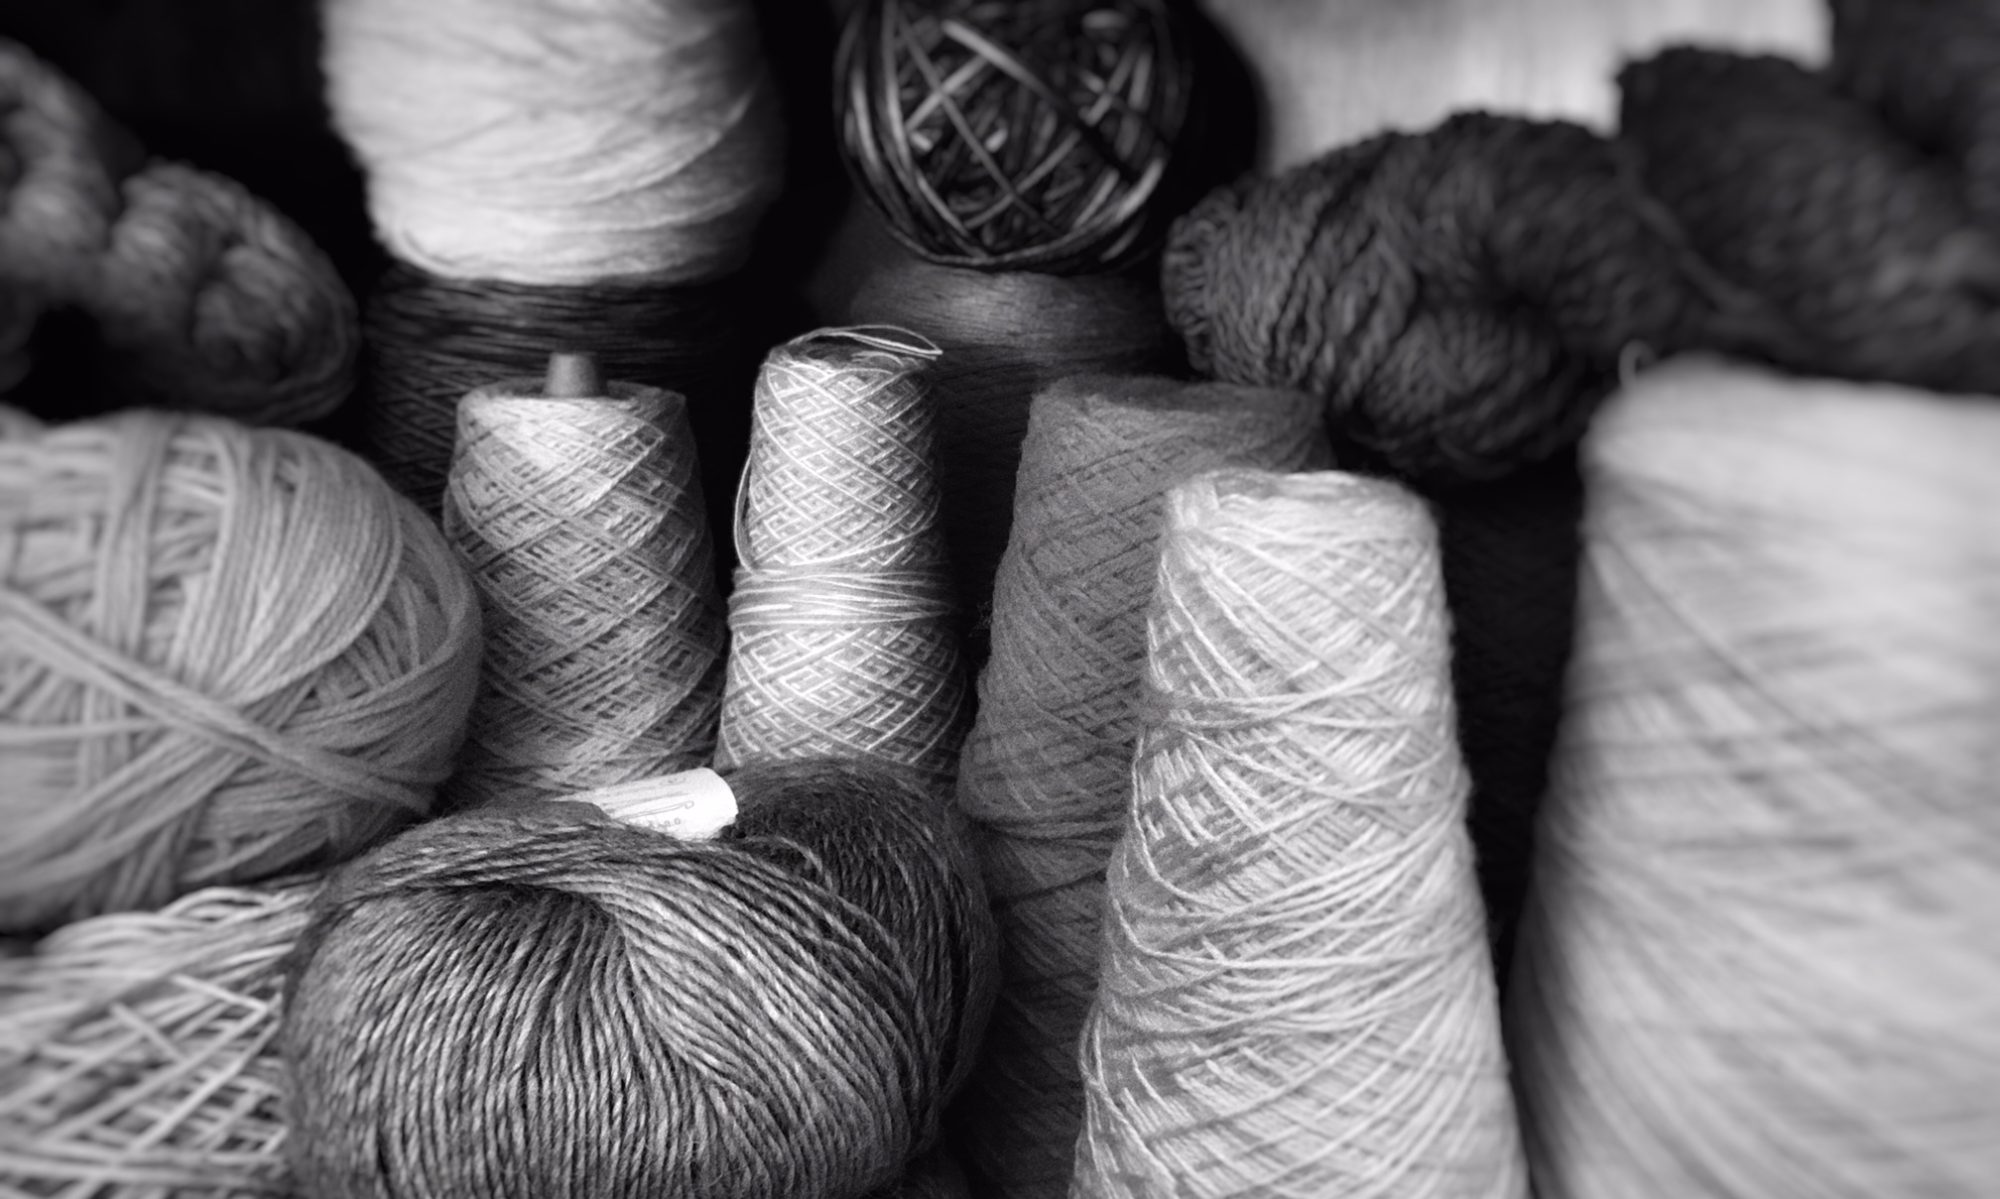
First, I came across Lion Brand’s Truboo yarn that is made out of bamboo. With this fiber I thought it would be a great option for something breathable for the warmer months. It also is a category 3 light yarn so it would make a thinner garment that wouldn’t be too bulky.
note: this page contains affiliate links

Then, I decided on a 3/4 length cardigan. Something that would be versatile to wear over tees or tanks, and layered for the day during the transitional months. It also would be great as a bring along for air conditioned places or cooler evenings.
Finally, since making this cardigan sweater I have worn it several times and absolutely find it perfect for these warmer months. I have worn it over a dress for a nice event, and then I have thrown it over a tee for a day out and about. It isn’t bulky at all, and I like wearing it opened and buttoned up. So many options to wear it!
The bamboo yarn has a great drape that makes it comfortable and easy to wear. In addition, this yarn has a sheen to it that makes the stitch definition really show, but it isn’t glitzy like a holiday sweater with sparkle yarn. Truboo isn’t my favorite to work with since it splits, and I found my gauge changed easily as I worked with it. But, the fabric it produces makes me forget all about the negatives and I’m already thinking of more things to make with it.
I hope that you find this cardigan sweater a great addition to your spring and summer wardrobe as much as I have. Even though it is just one item for warmer months, I very much enjoy being able to wear hand made items throughout the entire year. Just makes the day feel extra special.
Read about the sweater I wore most of this winter HERE.

Crochet Moondance Cardigan
by www.CityFarmhouseStudio.com
Get the printable PDF version of the pattern (without ads) HERE
Add it to your Ravelry queue HERE
Lion Brand Truboo – 3.5oz/100g – 241 yd/220m – 100 % Rayon from Bamboo – Category 3 Light Yarn – 7 (8, 9, 10) 11, 12, [12, 13, 13] skeins.
Suggested yarns for substitution: Lion Brand Coboo, Loops & Threads Silky Soft Rayon From Bamboo
Sizes: XS (S, M, L) XL, 2X [3X, 4X, 5X]
Finished garment bust circumference (pattern is designed to be 4-6” above actual bust): 38 (42, 44¾, 48) 53, 58¾ [61, 64¾, 68] inches

Crochet Hook – G (4 mm)
Crochet Hook – F (3.75mm)
Buttons ⅝” dia – 6 (6, 6, 6) 6, 6 [6, 7, 7]
Gauge: With G hook – *fpdc, bpdc* – 4” x 4” = 19 sts x 14 rows
With F hook – *sc, ch1, skip 1 st* – 4” x 4” = 30 sts x 21 rows
Notes:
A YouTube video showing both stitch patterns, how to increase, decrease, join and more information about the sweater construction can be found here on Youtube.
Glossary (refer to YouTube link above to see how stitches are made):
ch = chain
sc = single crochet
dc = double crochet
fpdc = front post double crochet
bpdc = back post double crochet
fdc = foundation double crochet
In both stitch patterns, if the turning chain at the beginning of the row is more than 1 chain in length it counts as one stitch in the row stitch count total.
Back Body:
With hook G, ch 39 (39, 39, 39) 52, 52 [52, 52, 52].
Row 1: Dc in 4th ch from hook and in each ch to the end of the row. 37 (37, 37, 37) 50, 50 [50, 50, 50] stitches.
Row 2: Ch 4. Dc in 4th ch from hook (first ch 3 counts as first dc in row). This increases the row stitch count by 2. Fpdc around 1st stitch of previous row. Bpdc around the next. Repeat *fpdc around one stitch, bpdc around one stitch* until end of row (note: row may end in a fpdc at times in order to meet previous row stitch pattern). Make 2 fdc off of the last stitch of current row. A total increase of 4 stitches are made in this row. 41 (41, 41, 41) 54, 54 [54, 54, 54] stitches.
Row 3: Ch 3 (counts as an increase of a dc). Starting with the first stitch of the previous row, either fpdc around previous row stitches that recede to the back, bpdc around previous row stitches that are on the front. Look further in row to determine the pattern. Continue repeating the pattern to the end of the row. Make 1 additional dc in the last stitch of the current row to increase an additional stitch. A total increase of 2 stitches are made in this row. 43 (43, 43, 43) 56, 56 [56, 56, 56] stitches.
Repeat rows 2 and 3 for 3 (4, 5, 6) 6, 7, [8, 9, 10] more times, following pattern of fpdc/bpdc set by previous rows. 61 (67, 73, 79) 92, 98 [104, 110, 116] stitches.
Row 4: Ch 2 (counts as a dc). Starting with the second stitch of the previous row, either fpdc around previous row stitches that recede to the back, bpdc around previous row stitches that are on the front. If beginning stitch is a straight dc then look further in row to determine pattern. Continue repeating the pattern to the end of the row.
Repeat row 4 an additional 9 (11, 11, 11) 13, 15 [15, 15, 15] times.
Row 5: Ch 4. Dc in 4th ch from hook (first ch 3 counts as first dc in row). This increases the row stitch count by 2. Fpdc and bpdc around previous row stitches following the pattern of fpdc/bpdc set by previous rows. Make 2 fdc off of the last stitch of current row.
Row 6: Ch 3 (counts as a dc). Starting with the first stitch of the previous row, fpdc and bpdc around previous row stitches following the pattern of fpdc/bpdc set by previous rows. Make 1 dc off of the last stitch of current row.
Repeat row 5 and 6 an additional 2 more times. 79 (85, 91, 97) 110, 116 [122, 128, 134] stitches.
Row 7: Ch 6 (7, 7, 8) 8, 9 [9, 10, 11]. Dc in 4th ch from hook and in each ch. Fpdc and bpdc around previous row stitches following the pattern of fpdc/bpdc set by previous rows. Look further in row to determine the pattern for the first stitch. Continue repeating the pattern to the end of the row. Make 4 (5, 5, 6) 6, 7 [7, 8, 9] fdc off of the last stitch of current row. 87 (95, 101, 109) 122, 130 [136, 144, 152] stitches.
Row 8: Ch 2 (counts as a dc). Starting with the second stitch of the previous row, fpdc and bpdc around previous row stitches following the pattern of fpdc/bpdc set by previous rows.
Repeat row 8 for 27 more times.
Bind off.
Front Body:
make 2
With hook G, ch 21 (21, 21, 21) 32, 32 [32, 32, 32].
Row 1: Dc in 4th ch from hook and in each ch to the end of the row. 19 (19, 19, 19) 30, 30 [30, 30, 30] stitches.
Row 2: Ch 4. Dc in 4th ch from hook (first ch 3 counts as first dc in row). This increases the row stitch count by 2. Fpdc around 1st stitch of previous row. Bpdc around the next. Repeat *fpdc around one stitch, bpdc around one stitch* until end of row (note: row may end in a fpdc at times in order to meet previous row stitch pattern). 21 (21, 21, 21) 32, 32 [32, 32, 32] stitches.
Row 3: Ch 2 (counts as a dc). Starting with the second stitch of the previous row, either fpdc around previous row stitches that recede to the back, bpdc around previous row stitches that are on the front. If beginning stitch is a straight dc then look further in row to determine the pattern. Continue repeating the pattern to the end of the row. Make 1 more dc in turning chain of previous row to increase row by 1 stitch. 22 (22, 22, 22) 33, 33 [33, 33, 33] stitches.
Repeat rows 2 and 3 for 3 (4, 5, 6) 6, 7, [8, 9, 10] more times, following pattern of fpdc/bpdc set by previous rows. 31 (34, 37, 40) 51, 54 [57, 60, 63] stitches.
Row 4: Ch 2 (counts as a dc). Fpdc and bpdc around previous row stitches following the pattern of fpdc/bpdc set by previous rows.
Repeat row 4 an additional 9 (11, 11, 11) 13, 15 [15, 15, 15] times.
Row 5: Ch 4. Dc in 4th ch from hook (first ch 3 counts as first dc in row). This increases the row stitch count by 2. Fpdc and bpdc around previous row stitches following the pattern of fpdc/bpdc set by previous rows, looking further in row to determine the pattern for the first dc.
Row 6: Ch 2 (counts as a dc). Starting with the second stitch of the previous row, fpdc and bpdc around previous row stitches following the pattern of fpdc/bpdc set by previous rows. Make 1 dc off of the last stitch of current row to increase row by 1 stitch.
Repeat row 5 and 6 an additional 2 more times. 40 (43, 46, 49) 60, 63 [66, 69, 72] stitches.
Row 7: Ch 6 (7, 7, 8) 8, 9 [9, 10, 11]. Dc in 4th ch from hook and in each ch. Fpdc around previous row stitches that recede to the back, bpdc around previous row stitches that are on the front. Continue repeating the pattern to the end of the row. 44 (48, 51, 55) 66, 70 [73, 77, 81] stitches.
Row 8: Ch 2 (counts as a dc). Starting with the second stitch of the previous row, fpdc and bpdc around previous row stitches following the pattern of fpdc/bpdc set by previous rows.
Repeat row 8 for 27 more times.
Bind off.
Sleeve:
make 2
Sleeve begins at the top of the shoulder near the neck.
With hook F, ch 30 (30, 34, 36) 38, 40 [40, 42, 44].
Row 1: Sc in 4th ch from hook. *Ch 1, skip 1 stitch, sc in next ch.* Repeat from * to *. 28 (28, 32, 34) 36, 38 [38, 40, 42] stitches.
Row 2: Ch 2. Skip 1 sc of previous row, sc in the open ch space. *Ch 1, skip 1 stitch, sc in open ch space.* Repeat from * to * ending with a sc in turning ch of previous row.
Repeat row 2 an additional 10 (12, 14, 14) 16, 20, [16, 18, 20] times.
Next row increase by 3 stitches. Ch 3 and follow the below that applies:
– if end of previous row is a sc then: ch 1 more and sc in 2nd ch from hook. *Ch 1, skip one stitch, sc in next space.* Repeat to end of row. Last stitch of row may be a ch to follow previous row pattern.
– if end of previous row is a ch then: ch 2 more and sc in 4th ch from hook. *Ch 1, skip one stitch, sc in next space.* Repeat to end of row. Last stitch of row may be a ch to follow previous row pattern.
Repeat increase row by 3 stitches an additional 1 (1, 1, 1) 3, 1 [3, 3, 5] times. 34 (34, 38, 40) 48, 44 [50, 52, 60] stitches.
Next row increase by 2 stitches. Ch 2 and follow the below that applies:
– if end of previous row is a sc then: ch 2 more and sc in 4th ch from hook. *Ch 1, skip one stitch, sc in next space.* Repeat to end of row. Last stitch of row may be a ch to follow previous row pattern.
– if end of previous row is a ch then : ch 1 more and sc in 2nd ch from hook. *Ch 1, skip one stitch, sc in next space.* Repeat to end of row. Last stitch of row may be a ch to follow previous row pattern.
Repeat increase by 2 row an additional 13 (15, 13, 15) 19, 23 [21, 23, 21] times. 62 (66, 66, 72) 88, 92 [94, 100, 104] stitches.
Repeat row pattern without any increases or decreases for 34 (32, 34, 38) 44, 46, [44, 44, 46] times.
Repeat increase row of 3 stitches an additional 6 (6, 8, 8) 6, 6 [8, 8, 8] times. 80 (84, 90, 96) 106, 110 [118, 124, 128] stitches.
Increase row by 6 (7, 8, 10) 10, 12 [12,13, 14] stitches. Ch 6 (7, 8, 10) 10, 12 [12, 13,14] and follow the below that applies.
For sizes increasing an odd number of stitches:
– if end of previous row is a sc then: ch 1 more and sc in 2nd ch from hook. *Ch 1, skip one stitch, sc in next space.* Repeat to end of row. Last stitch of row may be a ch to follow previous row pattern.
– if end of previous row is a ch then: ch 2 more and sc in 4th ch from hook. *Ch 1, skip one stitch, sc in next space.* Repeat to end of row. Last stitch of row may be a ch to follow previous row pattern.
For sizes increasing an even number of stitches:
– if end of previous row is a sc then: ch 2 more and sc in 4th ch from hook. *Ch 1, skip one stitch, sc in next space.* Repeat to end of row. Last stitch of row may be a ch to follow previous row pattern.
– if end of previous row is a ch then : ch 1 more and sc in 2nd ch from hook. *Ch 1, skip one stitch, sc in next space.* Repeat to end of row. Last stitch of row may be a ch to follow previous row pattern.
Repeat increase section above 1 more time. 92 (98, 106, 116) 126, 134 [142, 150, 156] stitches.
Repeat row pattern without any increases or decreases for for 6 times.
*Decrease next row by 2 st by working pattern and leaving 2 stitches unworked (1 ch and 1 sc but possibly not in that order).
Repeat above decrease row once.
Repeat row pattern without any increases or decreases for for 4 (4, 6, 6) 8, 8 [6, 4, 4] times.*
Repeat from * to * 1 (1, 1, 2) 2, 3 [4, 4, 4] times. 84 (90, 98, 104) 114, 118 [122, 130, 136] stitches.
Repeat row pattern without any increases or decreases for 28 (32, 36, 24) 18, 5 [2, 4, 2] times.
Switch to G hook and ch 1. Sc in each ch space of previous row.
Ch 2 (counts as a dc). Starting with the second stitch of the previous row, dc in each stitch to the end.

Ch 2 (counts as a dc). Starting with the second stitch of the previous row, fpdc around the stitch, then bpdc around the next. Continue repeating the fbdc then bpdc pattern to the end of the row.
Ch 2 (counts as a dc). Starting with the second stitch of the previous row, either fpdc around previous row stitches that recede to the back, bpdc around previous row stitches that are on the front. Continue repeating the pattern to the end of the row.
Repeat above row an additional 3 times.
Bind off.
Construct garment:
Sew front panel and back panel sides together. Sew in sleeves to the front and back panel with a zipper join for an added detail between the sleeve and body panels. The portion of the sleeve that is the beginning ch will be at neckline and won’t be sewn into front or back panel. The increases of the front and back panels do not align with the increase locations of the sleeve. Watch a video for more information on the zipper join here.
Sew together the sleeve edges to form the arm of the sleeve.
Collar:
With a slip knot on a hook F, sc 142 (142, 150, 158) 164, 174 [182, 188, 196] evenly around the neck edge.
Row 1: Ch 2. Skip 1 sc of previous row, sc in the next stitch. *Ch 1, skip 1 stitch, sc in next stitch.* Repeat from * to * end.
Row 2: Ch 2. Skip 1 sc of previous row, sc in the open ch space. *Ch 1, skip 1 stitch, sc in open ch space.* Repeat from * to * ending with a sc in turning ch of previous row.
Repeat row 2 an additional 8 times.
Bottom Edge:
With a slip knot on a hook F, sc 270 (294, 314, 338) 400, 420 [438, 464, 488] evenly around the hem.
Row 1: Ch 2. Skip 1 sc of previous row, sc in the next stitch. *Ch 1, skip 1 stitch, sc in next stitch.* Repeat from * to * end.
Row 2: Ch 2. Skip 1 sc of previous row, sc in the open ch space. *Ch 1, skip 1 stitch, sc in open ch space.* Repeat from * to * ending with a sc in turning ch of previous row.
Repeat row 2 an additional 8 times.
Edge with Buttons on Left when wearing:
With a slip knot on a hook F, sc 148 (154, 160, 164) 168, 176 [182, 186, 190] evenly along the edge.
Row 1: Ch 2. Skip 1 sc of previous row, sc in the next stitch. *Ch 1, skip 1 stitch, sc in next stitch.* Repeat from * to * end.
Row 2: Ch 2. Skip 1 sc of previous row, sc in the open ch space. *Ch 1, skip 1 stitch, sc in open ch space.* Repeat from * to * ending with a sc in turning ch of previous row.
Repeat row 2 an additional 8 times.
Button Hole Edge on Right when wearing:
With a slip knot on a hook F and beginning at the bottom sweater edge, sc 148 (154, 160, 164) 168, 176 [182, 186, 190] evenly along the edge.
Row 1: Ch 2. Skip 1 sc of previous row, sc in the next stitch. *Ch 1, skip 1 stitch, sc in next stitch.* Repeat from * to * end.
Row 2: Ch 2. Skip 1 sc of previous row, sc in the open ch space. *Ch 1, skip 1 stitch, sc in open ch space.* Repeat from * to * ending with a sc in turning ch of previous row.
Repeat row 2 an additional 2 times.
Make button holes: Ch 2. Skip 1 sc of previous row, sc in the open ch space. *Ch 1, skip 1 stitch, sc in open ch space.* Ch 3 to make first button hole. Skip 3 stitches of previous row and sc in next chain space. Repeat from * to * pattern for 20 (24, 24, 26) 24, 30 [30 , 28, 24] stitches. Note: be sure to add one to your stitch count if you are including the sc after the 3 chs for the button hole. Ch 3 to make next button hole. Skip 3 stitches of previous row and sc in next chain space. Repeat from * to * pattern for 24 (24, 26, 26) 28, 28 [30, 24, 26] stitches. Repeat until you have made a total of 6 (6, 6, 6) 6, 6 [6, 7, 7] button holes. Repeat from * to * pattern to end of row.
Next row: Ch 2. Skip 1 sc of previous row, sc in the open ch space. *Ch 1, skip 1 stitch, sc in open ch space.* Repeat from * to * pattern. In each button hole there will be 2 sc and 1 ch over it. End row with a sc in turning ch of previous row.
Repeat row 2 an additional 4 times.
Bind off. Weave in ends. Block and sew on buttons.
Discover more from City Farmhouse Studio
Subscribe to get the latest posts sent to your email.
Hi, I’m about to begin this cardigan, what is the gauge supposed to measure?
Hi. In the pattern it states: Gauge: With G hook – *fpdc, bpdc* – 4” x 4” = 19 sts x 14 rows
With F hook – *sc, ch1, skip 1 st* – 4” x 4” = 30 sts x 21 rows
If you need more clarification to the stitches the YouTube video link will go over the stitch patterns.
Looks like a great pattern! Have ordered the yarn just now and can’t wait to start!
Is this pattern worked top to bottom?
Yes, each part is worked starting at the top.
I love the design would work for many places one goes to…Great job
Thank you so very much!