
Consisting of 6 different panels in three colors, this color blocked Iris Shawl is a beauty to wear! The traditional lace texture combined with the graphic combination of colored panels creates a stunning wrap that is traditional in reference but with a modern twist.
This pattern is designed to be made on a flat bed knitting machine, but since the largest panel is only 33 stitches wide it can also be made on an Addi or Sentro that has enough needles! All the patterns are hand transferred so no special tools or machine add ons are needed.

note: this page contains affiliate links
Another great thing about the way the panels combine is that the back they come together to form a triangle, but they are still lined up in the front. This creates more coverage to keep you warm, not to mention the fun it is to see how the different colors join in the back.

This colorful Iris Shawl is perfect for adding a a bit of warmth on the cool evenings of summer, or to add a layer of color to a muted winters wardrobe. Whether worn draped over shoulders, wrapped like a scarf, or styled as a cowl; this versatile shawl will be grabbed over and over again.
Other machine knit patterns by City Farmhouse Studio:


Machine Knit Iris Shawl
by City Farmhouse Studio
Get the printable PDF version of the pattern (without ads) HERE
Add it to your Ravelry queue HERE
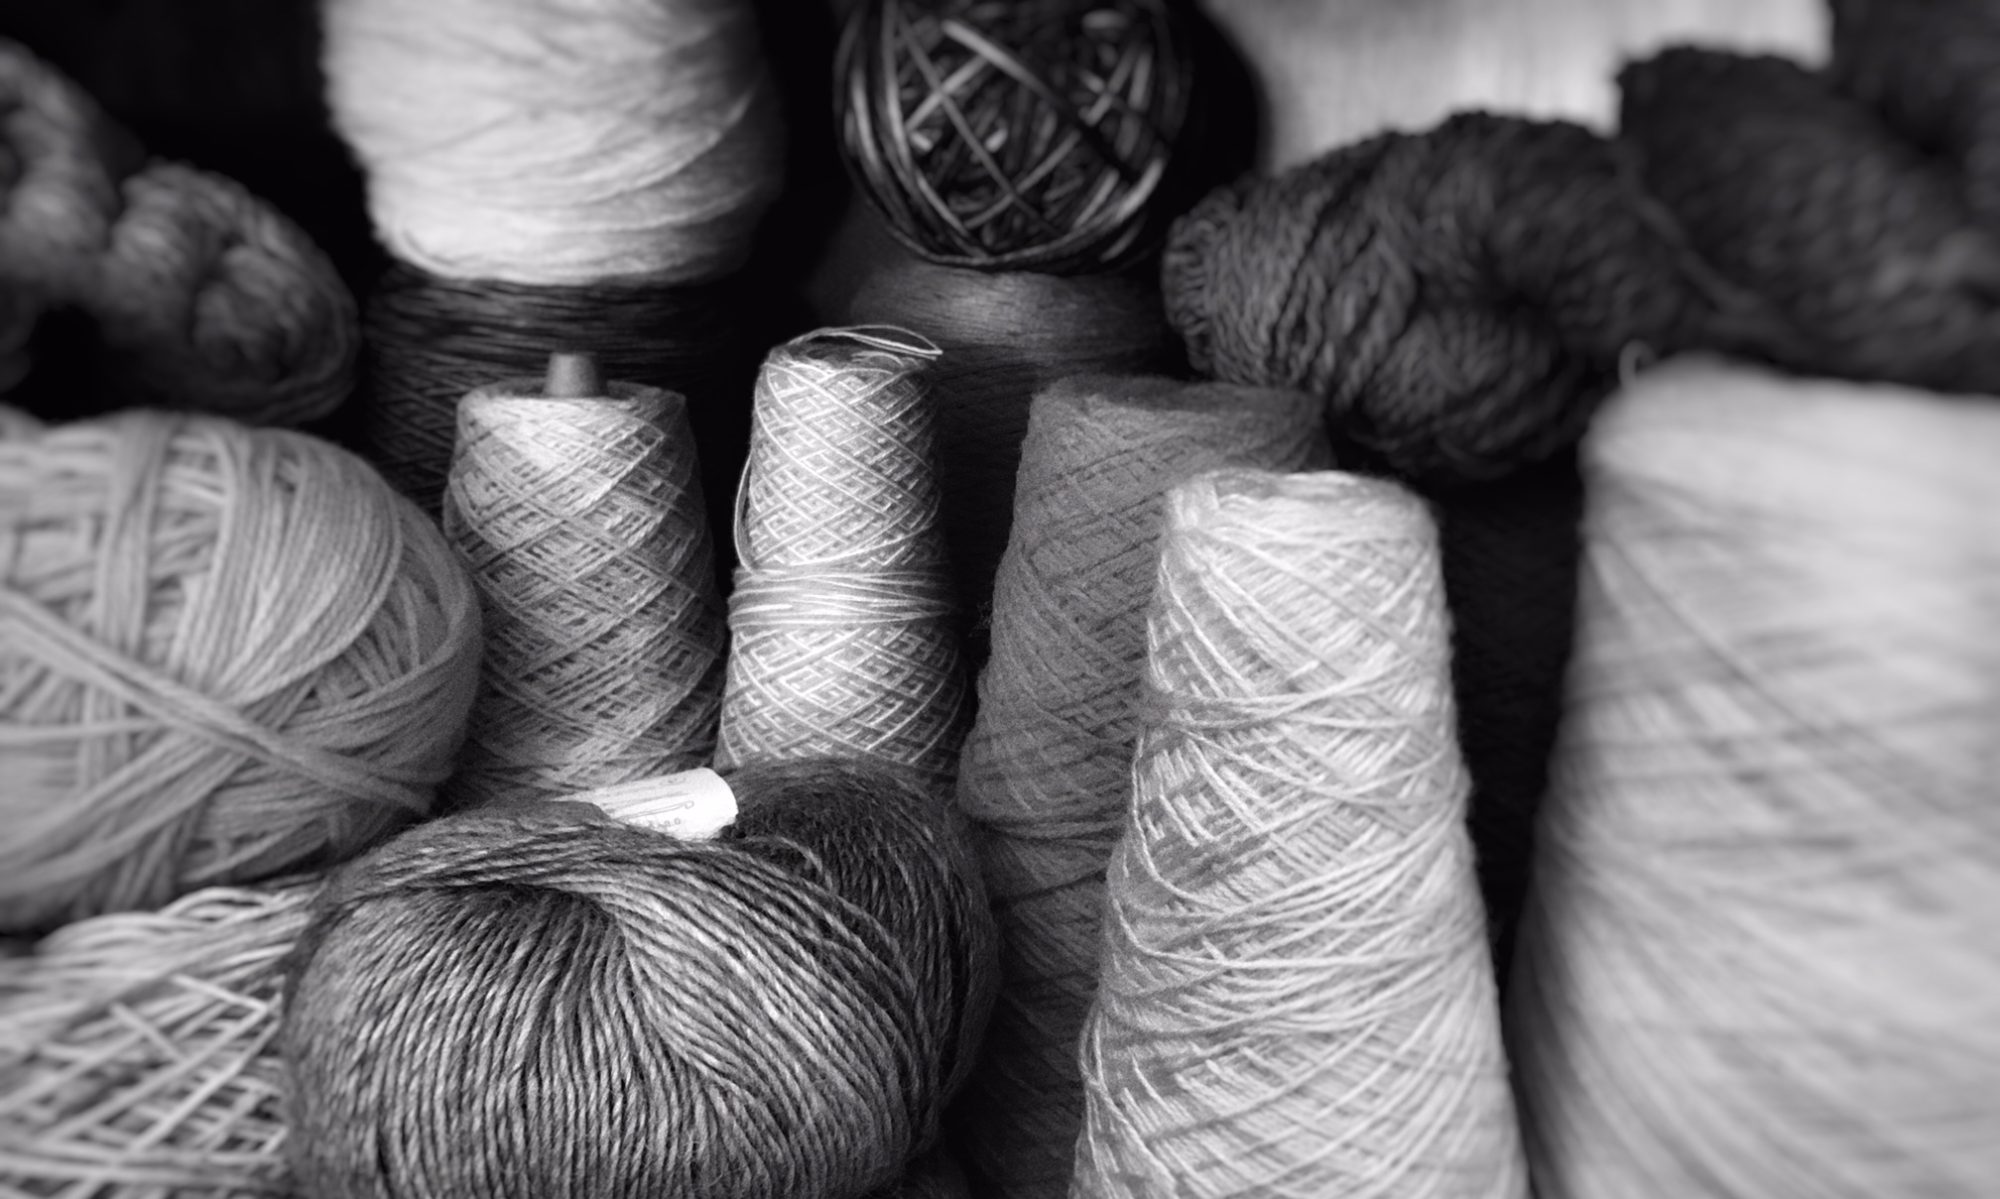
Color 1 – I Love This Yarn Cotton – 3.5oz/100g – 180 yd/165 m – 100% Cotton – Category 4 Medium – 11 WPI – 2 skeins – Serene Spa – (approx 250 yards needed)
Color 2 – I Love This Yarn Cotton – 3.5oz/100g – 180 yd/165 m – 100% Cotton – Category 4 Medium – 11 WPI – 2 skeins – Antique Cream – (approx 200 yards needed)
Color 3 – I Love This Yarn Cotton – 3.5oz/100g – 180 yd/165 m – 100% Cotton – Category 4 Medium – 11 WPI – 2 skeins – French Lilac – (approx 250 yards needed)
(yarn alternatives: Village Yarn Craft Cotton, K+C Essential Cotton, Loops & Threads Classic Cotton, Lily Sugan ‘n Cream).

Gauge 4” x 4” = 18 sts x 22 rows of stockinette
Mid-gauge flat bed machine (LK150) – (Reference Set Up – Carriage Tension at 6, Mast Tension 9)
1, 2, and 3 prong transfer tool
Latch Tool
Blunt Needle
Size: 18 inches x 55.5 inches long side length
A YouTube tutorial video showing the sts and each step of the construction can be found at: https://youtu.be/xCJ0TUhnNQc
An additional video on bind offs can be found at https://youtu.be/I3sHdlfeaio
Glossary
COR – carriage on right
K – knit
RC – row count
Sts – stitches
Panel Layout


Note: After transfers, be sure empty needles always stay in working position.
Panel 1 and 6 – in Color 1 (Serene Spa)
With waste yarn and ravel cord, COR, RC set to 000, e-wrap cast on 33 needles on the right side of bed. K2 rows.
Referencing chart:
Row 3 and 4: Transfer sts on needles 29 and 31 to needle 30.
With 3 needle transfer tool, pick up sts on needle 21-23, also pick up the stitch on needle 24 to be on same transfer tool prong as 23.
Place sts on needle 23-25. Move stitch on needle 20 to needle 21.
With 3 needle transfer tool, pick up sts on needle 15-17, also pick up the stitch on needle 14 to be on same transfer tool prong as 15. Place sts on needle 13-15. Move stitch on needle 18 to needle 17.
With 3 needle transfer tool, pick up sts on needle 7-9. Place sts on needle 6-8.
With 3 needle transfer tool, pick up sts on needle 3-5. Place sts on needle 4-6.
K2 rows. Transfer the sts on needles 29 & 31 to be purls. Purl sts in columns will be transferred later on.
Row 5 and 6: With 3 needle transfer tool, pick up sts on needle 21-23, and place on needles 22-24. With 2 needle transfer tool pick up the sts on needle 23-24. Place sts on needle 24-25.
With 3 needle transfer tool, pick up sts on needle 15-17, and place on needles 14-16. With 2 needle transfer tool pick up the sts on needle 14-15. Place sts on needle 13-14.
With 3 needle transfer tool, pick up sts on needle 7-9. Place sts on needle 6-8.
With 3 needle transfer tool, pick up sts on needle 3-5. Place sts on needle 4-6.
K2 rows. Purl sts in columns will be transferred later on.

Row 7 and 8: Transfer sts on needles 29 and 31 to needle 30.
With 3 needle transfer tool, pick up sts on needle 22-24. Place sts on needle 23-25. With
single transfer tool, move st on needle 24 to needle 25.
With 3 needle transfer tool, pick up sts on needle 14-16. Place sts on needle 13-15. With single transfer tool, move st on needle 14 to needle 13.
With 3 needle transfer tool, pick up sts on needle 7-9. Place sts on needle 6-8.
With 3 needle transfer tool, pick up sts on needle 3-5. Place sts on needle 4-6.
K2 rows. Transfer the sts on needles 29 & 31 to be purls. Purl sts in columns will be transferred later on.
Row 9 and 10: With 3 needle transfer tool, pick up sts on needle 21-23, also pick up the stitch on needle 24 to be on same transfer tool prong as 23. Place sts on needle 23-25. Move stitch on needle 20 to needle 21.
With 3 needle transfer tool, pick up sts on needle 15-17, also pick up the stitch on needle 14 to be on same transfer tool prong as 15. Place sts on needle 13-15. Move stitch on needle 18 to needle 17.
With 3 needle transfer tool, pick up sts on needle 7-9. Place sts on needle 6-8.
With 3 needle transfer tool, pick up sts on needle 3-5. Place sts on needle 4-6.
K2 rows. Purl sts in columns will be transferred later on.
Row 11 and 12: Transfer sts on needles 29 and 31 to needle 30.
With 3 needle transfer tool, pick up sts on needle 21-23, and place on needles 22-24. With 2 needle transfer tool pick up the sts on needle 23-24. Place sts on needle 24-25.
With 3 needle transfer tool, pick up sts on needle 15-17, and place on needles 14-16. With 2 needle transfer tool pick up the sts on needle 14-15. Place sts on needle 13-14.
With 3 needle transfer tool, pick up sts on needle 7-9. Place sts on needle 6-8.
With 3 needle transfer tool, pick up sts on needle 3-5. Place sts on needle 4-6.
K2 rows. Transfer the sts on needles 29 & 31 to be purls. Purl sts in columns will be transferred later on.
Row 13 and 14: With 3 needle transfer tool, pick up sts on needle 22-24. Place sts on needle 23-25. With single transfer tool, move st on needle 24 to needle 25.
With 3 needle transfer tool, pick up sts on needle 14-16. Place sts on needle 13-15. With single transfer tool, move st on needle 14 to needle 13.
With 3 needle transfer tool, pick up sts on needle 7-9. Place sts on needle 6-8.
With 3 needle transfer tool, pick up sts on needle 3-5. Place sts on needle 4-6.
K2 rows.
Drop down and transfer all stitches below needles 11, 12, 26, and 27 to be purl sts.
Repeat rows 3-14 and transferring for purl columns until RC is 164 for panel 1 and 254 for panel 6. Back stitch bind off.

Panel 3 and 4 – in Color 2 (Antique Cream)
With waste yarn and ravel cord, COR, RC set to 000, e-wrap cast on 19 needles on the right side of bed. K2 rows.
Referencing chart:
Row 3 and 4: With 3 needle transfer tool, pick up sts on needle 12-14, also pick up the stitch on needle 15 to be on same transfer tool prong as 14. Place sts on needle 14-16. Move stitch on needle 11 to needle 12.
With 3 needle transfer tool, pick up sts on needle 6-8, also pick up the stitch on needle 5 to be on same transfer tool prong as 6. Place sts on needle 4-6. Move stitch on needle 9 to needle 8.
K2 rows. Purl sts in columns will be transferred later on.
Row 5 and 6: With 3 needle transfer tool, pick up sts on needle 12-14, and place on needles 13-15. With 2 needle transfer tool pick up the sts on needle 14-15. Place sts on needle 15-16.
With 3 needle transfer tool, pick up sts on needle 6-8, and place on needles 5-7. With 2 needle transfer tool pick up the sts on needle 5-6. Place sts on needle 4-5.
K2 rows. Purl sts in columns will be transferred later on.
Row 7 and 8: With 3 needle transfer tool, pick up sts on needle 13-15. Place sts on needle 14-16. With single transfer tool, move st on needle 15 to needle 16.
With 3 needle transfer tool, pick up sts on needle 5-7. Place sts on needle 4-6. With single transfer tool, move st on needle 5 to needle 4.
K2 rows. Purl sts in columns will be transferred later on.
Repeat rows 3-8 until RC is 200 for panel 3 and 218 for panel 4. Drop down and transfer all stitches below needles 2, 3, 17, and 18 to be purl sts every time you have completed several inches of work.
Back stitch bind off.
Panel 2 and 5 – in Color 3 (French Lilac)
With waste yarn and ravel cord, COR, RC set to 000, e-wrap cast on 33 needles on the right side of bed. K2 rows.
Referencing chart:
Row 3 and 4: With 3 needle transfer tool, pick up sts on needle 29-31. Place sts on needle 28-30.
With 3 needle transfer tool, pick up sts on needle 25-27. Place sts on needle 26-28.
With 3 needle transfer tool, pick up sts on needle 17-19, also pick up the stitch on needle 20 to be on same transfer tool prong as 19. Place sts on needle 19-21. Move stitch on needle 16 to needle 17.
With 3 needle transfer tool, pick up sts on needle 11-13, also pick up the stitch on needle 10 to be on same transfer tool prong as 11. Place sts on needle 9-11. Move stitch on needle 14 to needle 13.
Transfer sts on needles 3 and 5 to needle 4.
K2 rows. Transfer the sts on needles 3 & 5 to be purls. Purl sts in columns will be transferred later on.
Row 5 and 6: With 3 needle transfer tool, pick up sts on needle 29-31. Place sts on needle 28-30.
With 3 needle transfer tool, pick up sts on needle 25-27. Place sts on needle 26-28.
With 3 needle transfer tool, pick up sts on needle 17-19, and place on needles 18-20.
With 2 needle transfer tool pick up the sts on needle 19-20. Place sts on needle 20-21.
With 3 needle transfer tool, pick up sts on needle 11-13, and place on needles 10-12. With 2 needle transfer tool pick up the sts on needle 10-11. Place sts on needle 9-10.
K2 rows. Purl sts in columns will be transferred later on.
Row 7 and 8: With 3 needle transfer tool, pick up sts on needle 29-31. Place sts on needle 28-30.
With 3 needle transfer tool, pick up sts on needle 25-27. Place sts on needle 26-28.
With 3 needle transfer tool, pick up sts on needle 18-20. Place sts on needle 19-21. With single transfer tool, move st on needle 20 to needle 21.
With 3 needle transfer tool, pick up sts on needle 10-12. Place sts on needle 9-11. With single transfer tool, move st on needle 10 to needle 9.
Transfer sts on needles 3 and 5 to needle 4.
K2 rows. Transfer the sts on needles 3 & 5 to be purls. Purl sts in columns will be transferred later on.
Row 9 and 10: With 3 needle transfer tool, pick up sts on needle 29-31. Place sts on needle 28-30.
With 3 needle transfer tool, pick up sts on needle 25-27. Place sts on needle 26-28.
With 3 needle transfer tool, pick up sts on needle 17-19, also pick up the stitch on needle 20 to be on same transfer tool prong as 19. Place sts on needle 19-21. Move stitch on needle 16 to needle 17.
With 3 needle transfer tool, pick up sts on needle 11-13, also pick up the stitch on needle 10 to be on same transfer tool prong as 11. Place sts on needle 9-11. Move stitch on needle 14 to needle 13.
K2 rows. Purl sts in columns will be transferred later on.
Row 11 and 12: With 3 needle transfer tool, pick up sts on needle 29-31. Place sts on needle 28-30.
With 3 needle transfer tool, pick up sts on needle 25-27. Place sts on needle 26-28.
With 3 needle transfer tool, pick up sts on needle 17-19, and place on needles 18-20.
With 2 needle transfer tool pick up the sts on needle 19-20. Place sts on needle 20-21.
With 3 needle transfer tool, pick up sts on needle 11-13, and place on needles 10-12. With 2 needle transfer tool pick up the sts on needle 10-11. Place sts on needle 9-10.
Transfer sts on needles 3 and 5 to needle 4.
K2 rows. Transfer the sts on needles 3 & 5 to be purls. Purl sts in columns will be transferred later on.
Row 13 and 14: With 3 needle transfer tool, pick up sts on needle 29-31. Place sts on needle 28-30.
With 3 needle transfer tool, pick up sts on needle 25-27. Place sts on needle 26-28.
With 3 needle transfer tool, pick up sts on needle 18-20. Place sts on needle 19-21. With single transfer tool, move st on needle 20 to needle 21.
With 3 needle transfer tool, pick up sts on needle 10-12. Place sts on needle 9-11. With single transfer tool, move st on needle 10 to needle 9.
K2 rows. Drop down and transfer all stitches below needles 7, 8, 22, and 23 to be purl sts.
Repeat rows 3-14 until RC is 200 for panel 2 and 218 for panel 5. Back stitch bind off.
Joining
Lay out and pin panels together based on diagram of panel #s. SUsing a Bickford seam (or your preferred invisible join), sew the panels together starting from the outer edge toward the center. Join bound off edge of each panel to remaining section of coordinating panel. Weave in ends.
Chart Key

Panel 1 & 6 ChartPanel 3 & 4 Chart

Panel 2 & 5 Chart

Discover more from City Farmhouse Studio
Subscribe to get the latest posts sent to your email.