
Living in the northern midwest of the US this year has been cold. Just plain cold. It started earlier than usual and seemed to stay very cold. So, on the days of -10 not including a wind chill, it was cold.
A majority of the week days I am home with just the cats while my husband is at work and the kids are off at school. I let the house temperature drop a few degrees and add on my sweaters and blankets so that the furnace doesn’t have to run all day long for just me. The cats have never said they minded it being cooler in the house either.
This fall I published a crochet fingerless mitts pattern that my girls confiscated the ones I made. So, with this cooler winter weather I was ready to make another pair just for me.
note: this page contains affiliate links

I wanted to make the pair so that anyone with a machine could make them. This meant that they needed to be made with a seam so that one didn’t require a ribber to make them. Hand transferring the ribbing and the motif pattern on the back of the hand took some time, but with it being so small the entire mitt was done before I knew it. I don’t know how long each mitt took since I always have to stop for kitties requiring attention. They seem to be jealous of my LK150.
The thumb area did take me a little time to work out. How to make it fit and comforatable while being knit flat on the machine. After a few trials I figured I out. Only seam the top portion of the mitt near the fingers. Then, working short rows for the sections of the thumb area on each end of the rehung section created enough shaping, along with some decreases, to shape and fit the thumb. It also kept the seam on the outside edge so that you don’t have the added bulk between your thumb and finger.

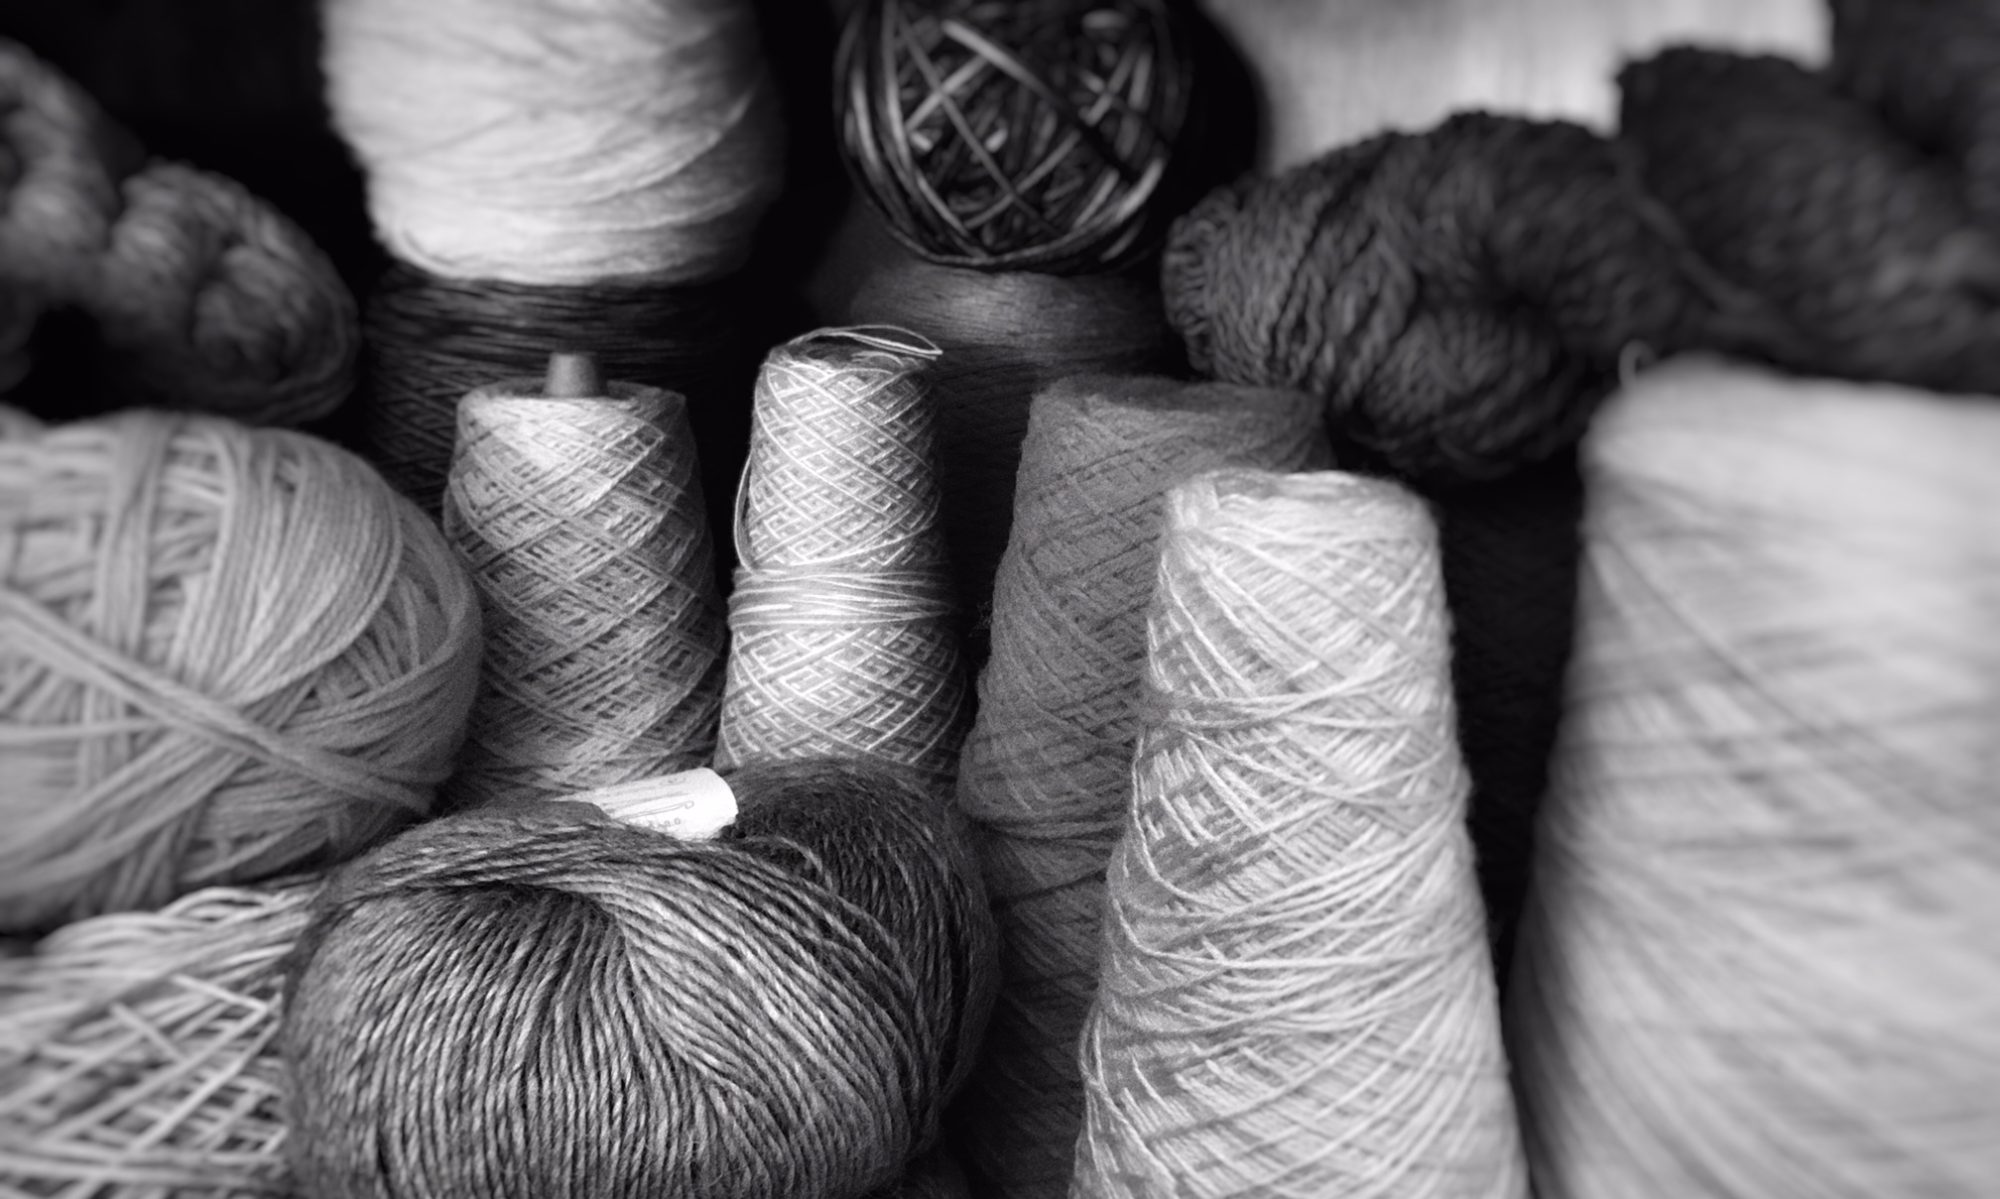
To make these mitts I used some of the remaining yarn from my Wingspan Shawl. With a pair of mitts only needing between 85-100 yards of yarn, this is a great stash buster for the yarn you have left after some projects.
Right after making these our oldest daughter was home visiting. She tried them on and was enjoying their comfort. Guess I’m going to be making another pair! How many sets will you be needing to make?
Other knitting machine patterns by City Farmhouse Studio:


Machine Knit Fly Me To the Moon Fingerless Mitts
by City Farmhouse Studio
Get the printable PDF version of the pattern (without ads) HERE
Add it to your Ravelry queue HERE
Yarn Bee Sweet Delight – 4oz/155g – 377 yd/345m – 60% Acrylic, 40% Polyamide- Category 3 Light – 13 WPI – 1 skein (one set of mitts requires approx 85 (92, 100) yards)
(Yarn Alternatives –Lion Brand Baby Soft, Cascade Yarns Cherub DK)
Gauge 4” x 4” = 21 stitches x 27 rows of stockinette
Mid-gauge flat bed machine (LK150) – (Reference Set Up – Stockinette Carriage Tension at 5, Mast Tension 5)
Size – S (M, L)
Palm Circumference – 7 (8, 9) inches
Fingerless Glove Length – 8 inches
A YouTube tutorial video showing the stitches and each step of the construction can be found at: https://youtu.be/dAiIKmj6d0o
An additional video on binding off on your machine can be found at: https://youtu.be/I3sHdlfeaio
An additional video on seaming knits can be found at: https://youtu.be/sdtGPx799bs
Glossary
RC – row count
Right Glove
Set carriage to right side of bed, and RC to 000. With waste yarn and ravel cord, e-wrap cast on 42 (46, 50) needles on the right side of the bed.
Tighten carriage tension 1 whole # than stockinette for ribbing. Knit 14 rows.
Hand transfer stitches for a 2X2 ribbing, keeping edge 2 stitches at each edge as they are.
Reset carriage tension to meet stockinette gauge. Knit 2 rows.
Pattern section:
Note: Chart Pattern will begin 6 needles from the right side of the bed so that it will be on the back of the hand. If you prefer, mark the 7th and 24th needle from the end to begin the purl pattern, and the 15th and 16th needle in from the right side (not the 15th and 16th needle) to note where the decreases will occur. There will be 18 (22, 26) stitches at the left side of the bed that remain as stockinette for the pattern portion.
Stitches in pattern to be purled can be hand manipulated as sections of the pattern are completed, or in entirety at the end.
Pattern Row 17-18 – move 5 needles onto each marked decrease needle. Fill in the empty needle by lifting the stitch below the last stitch moved. Knit 2 rows.
Pattern Row 19-20 – move 4 needles onto each marked decrease needle. Fill in the empty needle by lifting the stitch below the last stitch moved. Knit 2 rows.
Pattern Row 21-22 – move 3 needles onto each marked decrease needle. Fill in the empty needle by lifting the stitch below the last stitch moved. Knit 2 rows.
Pattern Row 23-24 – move 2 needles onto each marked decrease needle. Fill in the empty needle by lifting the stitch below the last stitch moved. Knit 2 rows.
Pattern Row 25-26 – move 1 needle onto each marked decrease needle. Fill in the empty needle by lifting the stitch below the moved stitch. Knit 2 rows.
Repeat Pattern Row 17-26 an additional 2 times. RC 46 (46, 46).
Knit 2 rows.
Tighten carriage tension 1 whole # than stockinette for ribbing. Knit 6 rows.
Hand transfer the top 6 stitches for a 2X2 ribbing, keeping edge 2 stitches at each edge as they are. RC 54 (54, 54)
Back stitch bind off to match the e-wrap cast on.
Lay the glove flat so it measures 8 inches. Sew down 1.75 (2, 2) inches from bind off to top of thumb for with a mattress stitch or bickford seam. This will be the section of the glove that covers the fingers.
From the end of the seam just created, measure down 2.25 (2.25, 2.5) inches and mark each side of the glove. This will be the section that creates the opening of the thumb.
With the wrong side of the glove facing you, place the section of the thumb over 22 (22, 26) needles.
Set RC to 000, carriage on the right side of bed, and carriage to stockinette tension. Knit 1 row.
Place right 13 (13, 16) needles in hold. There will be 9 (9, 10) needles in work.

Set Carriage to not knit needles in hold position. Decrease 1 st at the edge of bed closest to the carriage. Knit one row, wrap the first needle not in work, and knit one more row back for the 8 (8, 9) needles still in work.
Decrease 1 st at the edge of bed closest to the carriage, and place an additional 2 (2, 3) needles in hold position. Knit one row, wrap the first needle not in work, and knit one row to knit the 5 needles still in work.
Set carriage to knit needles in hold position. Decrease 1 st at the edge of bed closest to the carriage and knit all 19 (19, 23) needles in work on the bed.
Place left 10 (10, 13) needles in hold. There will be 9 (9, 10) needles in work.
Set Carriage to not knit needles in hold position. Decrease 1 st at the edge of bed closest to the carriage. Knit one row, wrap the first needle not in work, and knit the 8 (8, 9) needles still in work.
Decrease 1 st at the edge of bed closest to the carriage, and place an additional 2 (2, 3) needles in hold position. Knit one row, wrap the first needle not in work, and knit the 5 needles still in work.
Set carriage to knit needles in hold position. Decrease 1 st at the edge of bed closest to the carriage and knit all 16 (16, 20) needles in work on the bed
Decrease 1 st on BOTH sides of the bed and knit across the 14 (14, 18) sts. RC 10 (10, 10)
Tighten carriage tension 1 whole # than stockinette for ribbing. Knit 4 rows.
Hand transfer the top 4 stitches for a 2X2 ribbing, keeping edge 2 stitches at each edge as they are.
Back stitch bind off to match the e-wrap cast on.
Close the thumb section and remaining wrist section of the glove using a mattress stitch or bickford seam.
Left Glove
Repeat the instructions of the right glove through knitting the 2 rows of stockinette. Only the placement of the patterning section is different.
For the left, pattern will begin 6 needles from the left side of the bed so that it will be on the back of the hand. If you prefer, mark the 7th and 24th needle from the left end of the bed to begin the purl pattern, and the 15th and 16th needle in from the left side to note where the decreases will occur. There will be 18 (22, 26) stitches at the right side of the bed that remain as stockinette for the pattern portion.
Repeat Pattern Rows 1-5 as written for the 3 repeats. The ribbed section of the glove and thumb creation are the same as the right glove.
Chart Key

Note: chart only shows section of mitt that contains pattern motif. Refer to written instructions for placement within mitt.

Discover more from City Farmhouse Studio
Subscribe to get the latest posts sent to your email.