
*an additional post has been added HERE about substitute yarn information*
Earlier this spring I came to the realization that I did not have any handmade wool sweaters to wear. Living in Michigan it is cold, and I’m always cold. I have found that layers that include wool garments have become my best friends in staying warm. I have several men’s wool sweaters from our local thrift store that I wear around the house, but I didn’t have anything that was presentable to go out in or that I had made.
So, while the weather was still cool and full on summer heat hadn’t arrived, I began to design and make a wool sweater cardigan for myself. Since I had wool sweaters I knew I wanted more of a jacket or cardigan because it is easier to take on or off if you get hot. It also has the option to be worn unbuttoned. Practicality and versatility are always a priority for me.

note: this page contains affiliate links
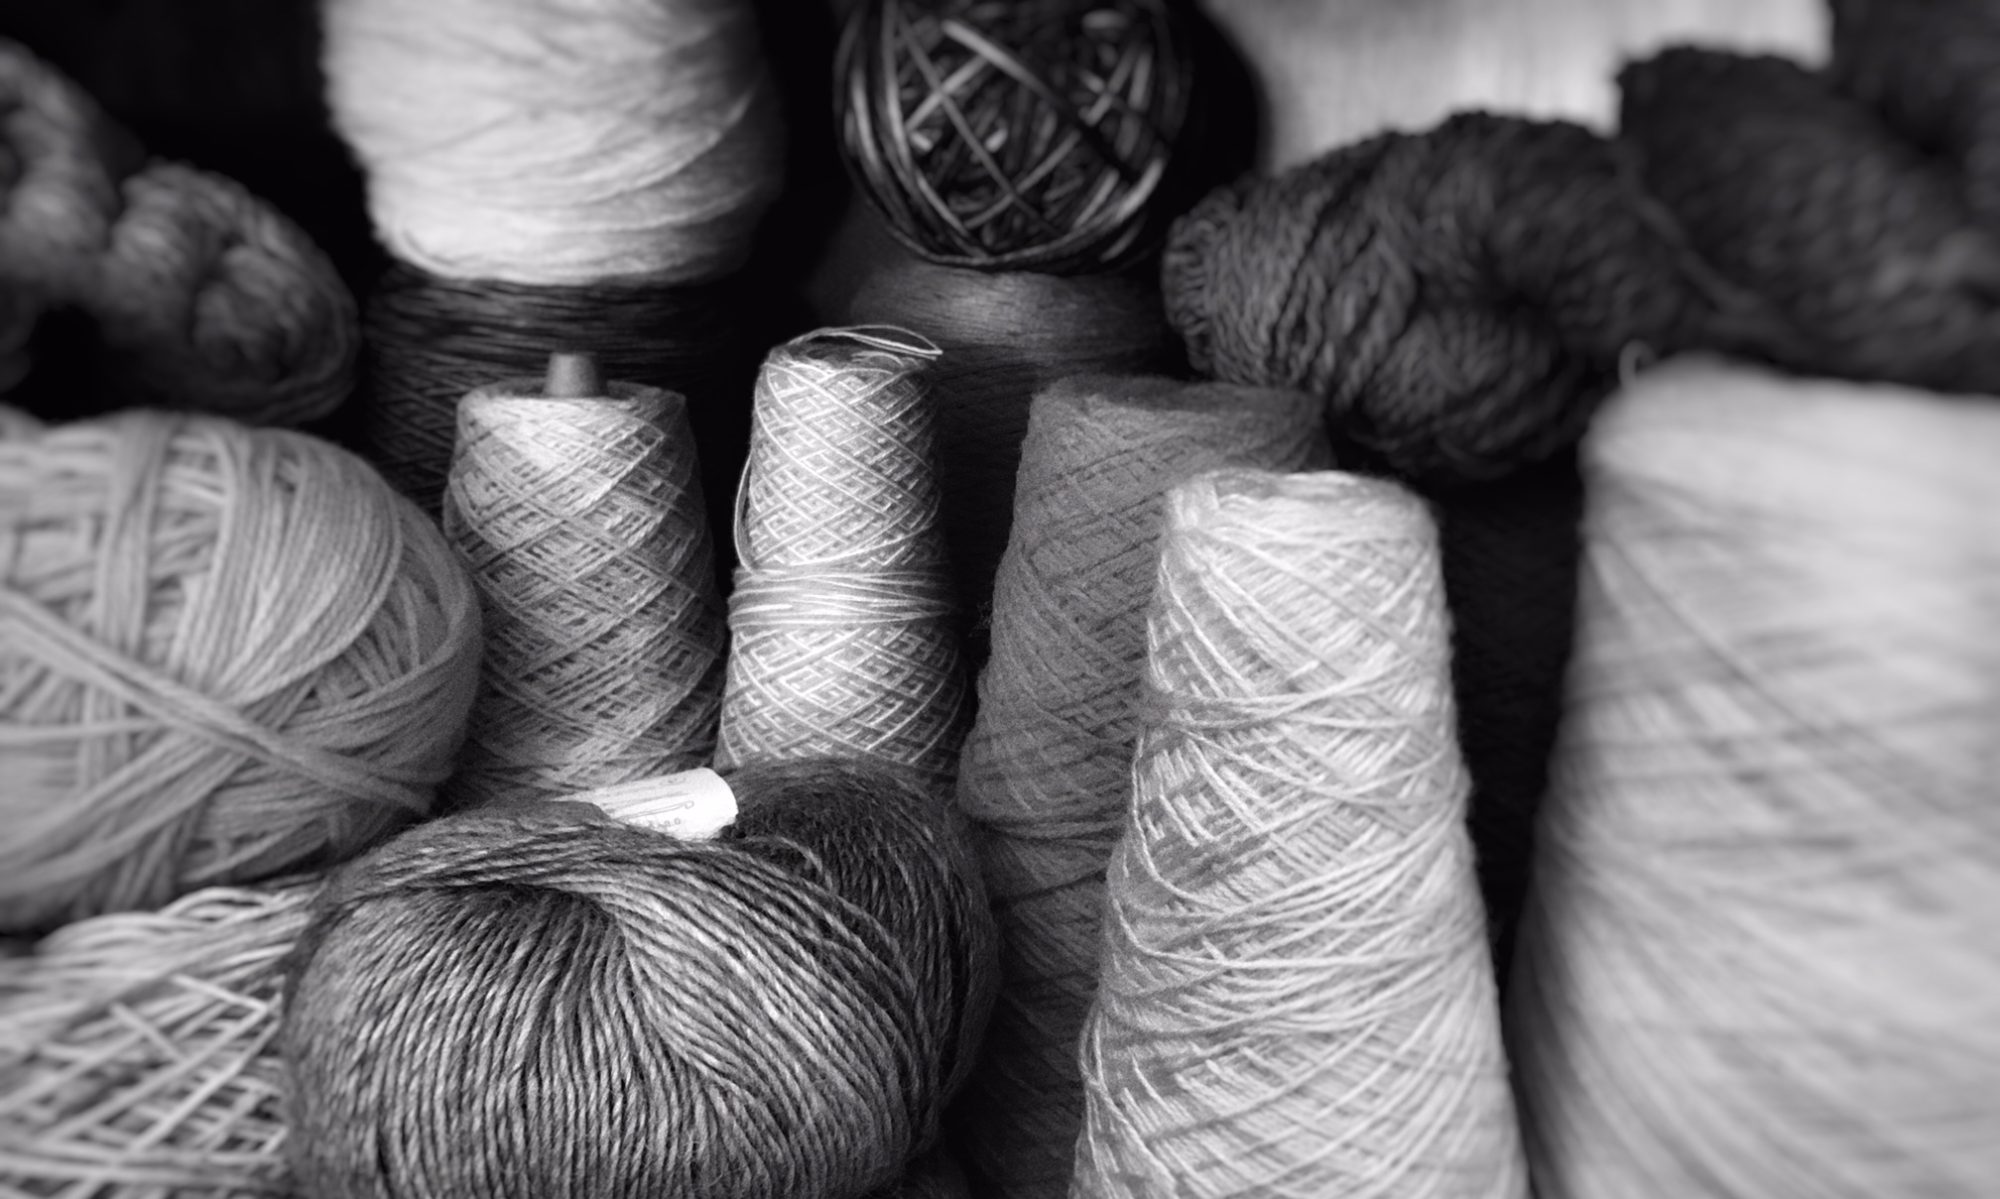
While looking for yarn at our local craft store, I noticed one out of mohair (get it here). I had made things out of sheep’s wool and alpaca but never had tried mohair. A fiber farm I follow on Instagram has mohair goats, so I thought I would try it and see what it is all about. Plus, the yarn is gray mohair (which is my favorite color) that is plied with a strand of lighter blue and a strand of silver metallic. I thought it would make a nice fabric with more color and texture interest than a solid gray yarn.
While the yarn feels a bit on the scratchy side while working with it, I have found that it washes and blocks much softer. The metallic thread doesn’t show as much in the sweater as some metallic yarns are designed, but gives just enough sparkle with the bright blue thread. The hand and color came out to be just perfect for me.
The pattern is for size XS-3XL with a 4” ease in the bust. For example, I am 5’5” with a 36 inch bust and I’m wearing the size M that has a 40” garment bust in all the images. To find a sweater with a similar fit measure your bust and add 4”. Compare that to the garment measurements in the sweater to determine which size you should make.

The fit of the cardigan is boxy with plenty of room in the arms. I have several sweaters that I like, but can’t layer under them. The arms are too small and wearing layers under them makes you feel stuffed. The under arm depth and arm width both give room for a comfortable fit with layers.
The bonus side of this sweater is that not only is it warm, it is really warm! I had to put making it on hold during the summer since it got to be too big and warm. This fall it has been so nice to make it since it is a perfect lap blanket while working on it. It feels so nice that now I’m dreaming about a blanket made out of the same yarn.
This cardigan is so comfortable and warm. It is perfect to cozy up in with a cup of coffee and a great book on those cold snowy days, or to go out and get a cup of coffee and walk through the snow.
Get the printable PDF version of the pattern (without ads) HERE

Crochet Weekender Cardigan
by City Farmhouse Studio
Get the printable PDF version of the pattern (without ads) HERE
Buttercream Luxe Craft Yarn – Mohair Metallic – 188 yds per skein – Blue Gray – 6 (7, 7, 8, 9, 9, 10) (Yarn Alternative Options: Buttercream Roving/ K+C Craft Roving, Patons (North America) Classic Wool Roving, Bernat Softee Chunky, Bernat Symphony, Bernat Freesia, Lion Brand Scarfie, Lion Brand Homespun, Red Heart Hygge, Red Heart Gemstone)
1 1/8” Buttons – 5
Stitch markers
Needle
Crochet hook: K (6.50mm)
Sizes: XS (S, M, L, Xl, 2XL, 3XL)
Garment measurement at bust: 32” (36”, 40”, 44”, 48”, 52”, 56”)
Stitch gauge: 4” x 4” = 12 hdc x 11 rows
Stitches:
Fsc: foundation single crochet
Hdc: half double crochet
Dc: double crochet
Sc: single crochet
Notes:
-YouTube video is available at https://youtu.be/xv3WJpvAwlc
Explanation on yarn substitution is also included since the original yarn has been discontinued.
Below is a list of the minute:seconds on which the section of the pattern is discussed:
Yarn Substitution: 0:15
Body: 3:12
Body Band: 5:45
Sleeve: 14:45
Seaming: 26:43
Collar: 36:43
-stitch or repeat step numbers listed as “na” means Not Applicable to that size. For example, instructions reading: Repeat na (na, 2, 4, 1, 3, 3) more times means that the instructions are not applicable for size XS and S and that you should move to the next step instructions.
Make body of cardigan. Cardigan is made vertically starting at front edge where buttons will be sewn on later on, working towards armhole, across back, to the other armhole, and finishes at the other edge of the front.
54 (56, 58, 58, 60, 60, 62) fsc.
Ch1 turn. 54 (56, 58, 58, 60, 60, 62) hdc.
Repeat for 17 (19, 23, 23, 25, 25, 27) more rows.
For all sizes begin decrease for armhole: Ch1 turn. 39 (39, 40, 43, 45, 47, 49) hdc.
Repeat step once for all sizes.
Next step: Ch1 turn. 35 (35, 37, 39, 41, 43, 45) hdc.
Repeat step once for all sizes.
Next step: Ch1 turn. 33 (33, 35, 35, 39, 39, 39) hdc.
Repeat 2 (4, 1, 1, 1, 1, 3) more time.
For size M, L, Xl, 2XL and 3Xl only: Ch1 turn. na (na, 33, 33, 37, 37, 37) hdc.
Repeat na (na, 2, 4, 1, 3, 3) more times.
For size Xl, 2XL and 3Xl only: Ch1 turn. na (na, na, na, 35, 35, 36) hdc.
Repeat na (na, na, na, 2, 2, 4) more times.
For size Xl, 2XL and 3Xl only: Chain na (na, na, na, 3, 3, 2) turn. Beginning in 2nd chain from hook na (na, na, na, 37, 37, 37) hdc.
Next step for XL, 2XL and 3XL only: Ch1 turn. na (na, na, na, 37, 37, 37) hdc.
Repeat step na (na, na, na, 0, 2, 2) more times.
For size M, L, Xl, 2XL and 3Xl only: Chain na (na, 3, 3, 3, 3, 3) turn. Beginning in 2nd chain from hook na (na, 35, 35, 39, 39, 39) hdc.
Next step for M, L, XL, 2XL and 3XL only: Ch1 turn. na (na, 35, 35, 39, 39, 39) hdc.
Repeat step na (na, 0, 0, 0, 0, 2) more times.
For all sizes increase: Chain 3 (3, 3, 5, 4, 5, 5) turn. Beginning in 2nd chain from hook 35 (35, 37, 39, 41, 43, 45) hdc.
Ch1 turn. 35 (35, 37, 39, 41, 43, 45) hdc.
Next step: Chain 5 (5, 4, 5, 5, 5, 7) turn. Beginning in 2nd chain from hook 39 (39, 40, 43, 45, 47, 49) hdc.
Ch1 turn. 39 (39, 40, 43, 45, 47, 49) hdc.
Next step: Chain 16 (18, 19, 16, 16, 14, 14) turn. Beginning in 2nd chain from hook 54 (56, 58, 58, 60, 60, 62) hdc.
Next step: Ch1 turn. 54 (56, 58, 58, 60, 60, 62) hdc.
Repeat step 35 (37, 39, 41, 43, 45, 45) more times to create back.
For all sizes begin decrease for next armhole: note – check that you are starting this row at the bottom of the sweater. Ch1 turn. 39 (39, 40, 43, 45, 47, 49) hdc.
Repeat step once for all sizes.
Next step: Ch1 turn. 35 (35, 37, 39, 41, 43, 45) hdc.
Repeat step once for all sizes.
Next step: Ch1 turn. 33 (33, 35, 35, 39, 39, 39) hdc.
Repeat 2 (4, 1, 1, 1, 1, 3) more time.
For size M, L, Xl, 2XL and 3Xl only: Ch1 turn. na (na, 33, 33, 37, 37, 37) hdc.
Repeat na (na, 2, 4, 1, 3, 3) more times.
For size Xl, 2XL and 3Xl only: Ch1 turn. na (na, na, na, 35, 35, 36) hdc.
Repeat na (na, na, na, 2, 2, 4) more times.
For size Xl, 2XL and 3Xl only: Chain na (na, na, na, 3, 3, 2) turn. Beginning in 2nd chain from hook na (na, na, na, 37, 37, 37) hdc.
Next step for XL, 2XL and 3XL only: Ch1 turn. na (na, na, na, 37, 37, 37) hdc.
Repeat step na (na, na, na, 0, 2, 2) more times.
For size M, L, Xl, 2XL and 3Xl only: Chain na (na, 3, 3, 3, 3, 3) turn. Beginning in 2nd chain from hook na (na, 35, 35, 39, 39, 39) hdc.
Next step for M, L, XL, 2XL and 3XL only: Ch1 turn. na (na, 35, 35, 39, 39, 39) hdc.
Repeat step na (na, 0, 0, 0, 0, 2) more times.
For all sizes increase: Chain 3 (3, 3, 5, 4, 5, 5) turn. Beginning in 2nd chain from hook 35 (35, 37, 39, 41, 43, 45) hdc.
Ch1 turn. 35 (35, 37, 39, 41, 43, 45) hdc.
Next step: Chain 5 (5, 4, 5, 5, 5, 7) turn. Beginning in 2nd chain from hook 39 (39, 40, 43, 45, 47, 49) hdc.
Ch1 turn. 39 (39, 40, 43, 45, 47, 49) hdc.
Next step: Chain 16 (18, 19, 16, 16, 14, 14) turn. Beginning in 2nd chain from hook 54 (56, 58, 58, 60, 60, 62) hdc.
Next step: Ch1 turn. 54 (56, 58, 58, 60, 60, 62) hdc.
Repeat step 13 (15, 19, 19, 21, 21, 23) more times.
Create button holes: Ch1 turn. 1 (2, 3, 3, 4, 4, 3) hdc. *2 hdc in next stitch, skip 2 stitches, 2 hdc in the next stitch, hdc in the next 8 (8, 8, 8, 8, 8, 9) stitches.* Repeat from * to * three more times. 2 hdc in next stitch, skip 2 stitches, 2 hdc in the next stitch, hdc in the next 1 (2, 3, 3, 4, 4, 3) stitches.
Next step: Ch1 turn. 54 (56, 58, 58, 60, 60, 62) hdc.
Repeat row once for all sizes.
Bind off.
Make bottom band
117 (133, 149, 157, 173, 189, 209) sc evenly around bottom edge of sweater.
Step 1: Ch2. Beginning in 2nd sc make a dc in the next 2 stitches. (1dc, ch3, 1sc) in next stitch, sk 1 stitch. *2dc, (1dc, ch3, 1 sc in next stitch, sk 1 stitch).* Repeat from * to * to end of the row. 1dc in last stitch that would normally be skipped in the repeat.
Step 2: Ch 2, (3dc, ch3, 1sc) in chain 3 space of each motif from previous row. End row with 1 dc in beginning chain from previous row.
Repeat step 8 (8, 8, 8, 9, 9, 10) more times.
Bind off.
Make sleeve
note – use stitch markers in the beginning ch section of each row to help identify where the next row will stop.
Ch 18 (18, 18, 18, 22, 22, 22).
Step 1: 1dc in 5th chain from hook, and in the next chain (1dc, ch3, 1sc) in next stitch, sk 1 stitch. *Dc in next 2 stitches, (1dc, ch3, 1 sc in next stitch, sk 1 stitch).* Repeat from * to * to end of the row until 3 stitches remain unworked not including the skipped stitch of last repeat. Dc in each of the remaining 3.
Step 2: Ch5 turn. 1dc in 3nd chain from hook and in the next. (1dc, ch3, 1sc) in the next stitch. * (3dc, ch3, 1sc) in chain 3 space of each motif from previous row. End row with 1 dc in beginning chain from previous row.
Repeat row once.
Step 3: Ch2 turn, (3dc, ch3, 1sc) in chain 3 space of each motif from previous row. End row with 1 dc in beginning chain from previous row.
Repeat for 3 (1, 1, 1, 1, 1, 1) more rows.
Step 4: Ch5 turn. 1dc in 3nd chain from hook and in the next. (1dc, ch3, 1sc) in the next stitch. * (3dc, ch3, 1sc) in chain 3 space of each motif from previous row. End row with 1 dc in beginning chain from previous row.
Repeat for 1 (3, 3, 3, 3, 3, 3) more rows.
Step 5: Ch2 turn, (3dc, ch3, 1sc) in chain 3 space of each motif from previous row. End row with 1 dc in beginning chain from previous row.
Repeat for 2 (2, 3, 1, 1, 3, 3) more rows.
Step 6: Ch5 turn. 1dc in 3nd chain from hook and in the next. (1dc, ch3, 1sc) in the next stitch. * (3dc, ch3, 1sc) in chain 3 space of each motif from previous row. End row with 1 dc in beginning chain from previous row.
Repeat for 1 (1, 1, 3, 3, 3, 1) more rows.
Size 3XL only: Ch9 turn. 1dc in 3nd chain from hook and in the next. (1dc, ch3, 1sc) in the next chain. Skip one chain. Dc in the next two chains. (1dc, ch3, 1sc) in the next stitch. * (3dc, ch3, 1sc) in chain 3 space of each motif from previous row. End row with 1 dc in beginning chain from previous row.
Repeat step na (na, na, na, na, na, 1) more times.
For all sizes: Ch2 turn, (3dc, ch3, 1sc) in chain 3 space of each motif from previous row. End row with 1 dc in beginning chain from previous row.
Repeat step 4 (5, 5, 2, 3, 2, 2) more times.
Begin arm decrease step 1: Ch2 turn. Sc in 1st chain 3 space of previous row. Ch2. Place stitch marker in this chain section. *(3dc, ch3, 1sc) in next chain 3 section.* Repeat from *to* to 1dc in last ch.
Step 2: Ch2 turn, (3dc, ch3, 1sc) in chain 3 space of each motif from previous row. End row with 1 dc in marked chain from previous row.
Step 3: Ch2 turn, (3dc, ch3, 1sc) in chain 3 space of each motif from previous row. End row with 1 dc in beginning chain from previous row.
Repeat the above three steps of arm decrease 3 (3, 3, 5, 5, 5, 5) more times.
Next step: Ch2 turn, (3dc, ch3, 1sc) in chain 3 space of each motif from previous row. End row with 1 dc in beginning chain from previous row.
Repeat row once for all sizes.
Make one more sleeve
Sew shoulders
Sew 10 (10, 11, 11, 12, 12, 12) rows on each side of shoulders together. Set sleeves into arm holes and sew together. Seam up edges of sleeves.
Make collar
Beginning on one edge of neckline 49 (57, 65, 69, 69, 73, 77) sc evenly around edge of sweater neckline.
Step 1: Ch2. Beginning in 2nd sc make a dc in the next 2 stitches. (1dc, ch3, 1sc) in next stitch, sk 1 stitch. *2dc, (1dc, ch3, 1 sc in next stitch, sk 1 stitch).* Repeat from * to * to end of the row leaving one stitch left. 1dc.
Step 2: Ch2, (3dc, ch3, 1sc) in chain 3 space of each motif from previous row. End row with 1 dc in beginning chain from previous row.
Step 3: Ch 2, (3dc, ch3, 1sc) in the next 4 (4, 5, 5, 5, 5, 6) chain 3 spaces. In next chain 3 space (3dc, ch3, 1sc) twice. (3dc, ch3, 1sc) in the next 5 (5, 4, 5, 5, 6, 5) chain 3 spaces. (3dc, ch3, 1sc) twice in next chain 3 space. (3dc, ch3, 1sc) in the next 4 (4, 5, 5, 5, 5, 6) chain 3 spaces. End row with 1 dc in beginning chain from previous row.
Step 4: Ch2, (3dc, ch3, 1sc) in chain 3 space of each motif from previous row. End row with 1 dc in beginning chain from previous row.
Bind off.
Discover more from City Farmhouse Studio
Subscribe to get the latest posts sent to your email.
A bold ask, but could you produce this pattern as a knit cardigan for those of us not confident enough to crochet something that big?
Hi!
This is my 2nd crochet sweater pattern and I’ve tried to make this sweater twice. =( I took my measurements and chose the corresponding size. The 1st time I completed the body and it looked like a tent on me — I frogged the entire sweater. I decided to make an entire “clothing size” smaller and even went down a hook size (J 6.00). I rechecked my gauge as I tend to be on the looser side when I crochet — looked good. I started again — I completed the body and put it down because I was so frustrated with it and finally picked it back up almost a year later. I cut 3 rows off the bottom trim as it looked pretty long already. I completed the first sleeve, but decided to sew the shoulders so I could try it on. It’s still huge! I could have definitely gone down at least 1 more size, but that wouldn’t have matched up with my measurements at all. I measured the garment and my gauge still matches up with the pattern.
Is there anyway to fix this without pulling the entire thing out again?
Hi Lauren. Sorry to hear you are having troubles with the sizing. I created the pattern where it is easy to adjust the body and garment length, but the width is only able to be modified by starting over. I guess theoretically you could sew it to the desired width and then trim it down, however I have never attempted this so can’t say for sure how it looks once completed.
This is so nice. Thank you very much.
Laura
The yarn is discontinued apparently, and I know I can use a “thinner” bulky #5, but what is the yardage required, if I have to look for a different yarn?
Hello, each skein of Mohair Metallic by Buttercream has 188 yards (172 meters). Depending on your size you can calculate the required amount of yardage for the number needed in the pattern.
Are we to do 4 sleeves, and then sew 2 together to make one sleeve? I don’t understand how just one sleeve is going to be big enough if its going to be folded in half lengthwise to create a sleeve. I’m stumped…..and I’m a long time crocheter.
No, just one sleeve per arm. The pattern of the sleeve starts at the top of the shoulder, and you work down towards the cuff.
For those of us who can’t afford to buy the beautiful yarn you used and would like to make a substitution could you please tell us the yarn weight (is it a 10 ply or worsted weight or such) please?
This yarn is a two ply that wraps around a ruler 8 times (8 wpi). This yarn is classified as a bulky #5 category. However, in my experience there is so much variation in a category, and this one seems to me to be a thinner bulky #5 category.
Have made three of these sweaters and just love your pattern. I too have struggled with the sleeve directions.
From reading all of your comments to others I have surmised that when you say double crochet in the beginning chain, you mean double crochet in your beginning chain five space (or chain 2 space). and then proceed to the next row. Am I correct?
Thanks.
Hi Tish,
I am so happy to hear that you have made so many and like the pattern. Below I have copied the instructions and added more information in []. I hope that this helps. – Cathy
Step 1: 1dc in 5th chain from hook [this chain is part of the foundation chain. It will make a loop of 4 chains, and I would place a stitch marker in the loop that this creates]
Step 2: Ch5 turn. 1dc in 3rd chain from hook [This will create a chain of 2. Place a stitch marker in the loop that was created] and in the next. (1dc, ch3, 1sc) in the next stitch. * (3dc, ch3, 1sc) in chain 3 space of each motif from previous row. End row with 1 dc in beginning chain from previous row [the space you marked in Step 1 with a stitch marker].
Thanks!
I am very late to the party! This is my first sweater and so far it’s looking really strange. Hope I didn’t do anything wrong! I’m at the part just finishing the back and it says to start decrease for next armhole. CHECK TGAT YOU ARE STARTING AT THE BITTOM IF THE SWEATER. this is what concerns me because I don’t understand the whole shape of the sweater, so I don’t know what us the bottom! Thank you !
Argh….no wonder I don’t understand the shape I’ve made, it’s all wrong. I started the increase for the armhole on the wrong end. Does the paid pattern have more instructions, row numbers? I need all the help I can get!
Hi Monika,
The sweater body is starts at the center of the body opening and works around, ending at the other side of the opening. This is not a pattern like most where you start at the bottom and work up, or vice versa. When completed the body of the sweater will look like a big rectangle with two “bites” taken out of the same long side.
The paid pattern has the same instructions, but feel free to comment or email me with any questions.
Thanks Cathy. I finally got the body of the sweater done. Now I am trying to do the bottom band and not sure that I’m doing it right. In the photo of yours, the band seems to be quite “solid” whereas mine has big spaces. I’m going to try another row or two, and then maybe I can send you a photo?
Monika
Last question, I promise! On some of the instructions it is written as *instructions* and the instructions Within the asterisks are to be repeated. But then for the bottom band on Step 2, there are no asterisks. So I dont know if I am to repeat the Chain 2 plus everything in the brackets, or just what’s in the brackets? Same for Step 3 on the sleeves.
Hi Monika,
Great to hear you have the body done. My bottom band (and sleeves since they are the same stitch pattern) have wholes that I can fit my pinkie finger easily into. As you work more rows you may find that they do close up some.
For the Step 2 of the band and Step 3 of the sleeve you will only repeat what is in the brackets. Also, remember you will be starting at the shoulder of the sleeve, so the beginning of the chain won’t fit around your wrist.
Cathy
Almost there! I have the body made and both sleeves. They look fabulous and I’m really excited to put it together. But….in the sleeve top, there are more zigs in the sleeves than in the armhole which is straighter.
Great work! As you sew the sleeve into the shoulder area you work around the zigs and zags the best you can to make it look as part of the sleeve stitch pattern. So, imagine an invisible line that would even up the zig-zags, and line that up with the armhole opening. For the edges of the sleeve they should almost nestle into each other and blend together.
Hi. This pattern looks great but the yarn brand is unavailable to me where I live. Do you have any substitutions you would recommend? What size is the yarn DK, worsted, bulky?
Hi! Sorry, I do not have an exact yarn for a substitute. The yarn is categorized as a bulky (5) yarn and I get 8 wraps per inch. The material content is: 74% Acrylic, 21% Mohair, 4% Metallic & 1% Polyamide. Even though it is classed as a bulky, I think some of the thicker worsted weight yarns may work.
This yarn does have a slight halo/fuzzyness from the mohair. This does add a softness in the appearance to the crochet stitch definition.
Hi, I’m at the decrease section on the sleeves. Do I decrease at both edges or just on one edge on each row?
Hi! You will be working a decrease at only one edge of the row, then working two rows without any decreases.
Thank you Cathy. I did figure it out. Am looking forward to finishing it and wearing it. Lorraine
Hi, Cathy, I am at the decrease for the armhole. You do not say where to do the decreases. Should they be spread out evenly over the 58 stitches? I’m doing a medium. I have the same question for the increases. Wonderful design! This is my winter project 🙂
Hi Jeanne, For the decreases in size medium you will hdc 40, leaving 18 stitches unworked. The decrease for the armhole will be the unworked stitches. To increase you will add stitches by first chaining at the beginning of the row. Hope this clarifies the process.
I love working on sweaters also for winter projects. Cathy
Hi Cathy it’s diane again. Please tell me that the sleeve is flat and then sewn somehow together. Still don’t see how it is suppose to fit into the arm hole. Where does the beginning row of 18 go? And if I am correct, the back corner of the back gets attached to one of the front panels’ corner to corner? I am sorry if I seem so dense but somehow these sleeves are getting the better of me. On the bright side I do have all but the sleeves and lastly collar to do. So, so far so good for someone who doesn’t make sweaters. And if all goes well, it will be a Christmas present. Guess it’s a good thing I think ahead!! Thank you for your quick response, your willingness to help and your patience.
Hi Diane,
Congrats on getting so far for not being a normal sweater maker. Yes, the corner of the back panel and front panels are sewn together to create the shoulder seams. There are instructions on seaming after the sleeve instructions. The sleeves are made flat, then you will sew the top portion into the armhole (it will have zig zag edges but ends up blending in and working with the sleeve openness when sewn. Then, the sleeve edges can be sewn. The zig zag edges fit almost like a puzzle piece together.
Hope this last bit of making (and the sleeves are the trickiest bit) goes well. Let me know if there are any other places you need more clarification.
Cathy
Im struggling with the sleeves set in. What 12 rows do i sew together? (“Sew 10 (10, 11, 11, 12, 12, 12) rows on each side of shoulders together” Are they on the inside neck? How do i fit a small horizontal sleeve top edge into a large shoulder seam opening?
Hi Diane, I’m sorry to hear you are struggling. For the 12 rows that you seam for the shoulders: lay the body of the cardigan down spread out flat. You should have a rectangle with two “U” shapes along one side. From each corner of the “U” count over 12 rows and mark with a stitch marker. Then, fold each short end panel over to match the corners of each “U” to the other corner. Your stitch marker should also line up. The distance between the corner to your stitch marker is what you will seam to form the shoulder. This will make a vest-like garment.
Starting where you did your foundation row on your sleeve, pin the middle of it to the shoulder seam you just made. Find the portion of each side of the sleeve where you stopped increasing. Pin each side of that location to the vest in the middle of the under arm section. Sew around to fit the sleeve to the body equally.
Hope this helps. If not, please let me know.
Cathy
Hi I am new at making sweaters. I am making a size M. I am afraid that I don’t understand making the sleeve. By any chance, do you have a video that i can watch to give me some help? Love the pattern! Just stuck on the sleeves.
Hi Diane,
Sorry, as of now there is no video. For the sleeve you start at the top of the shoulder. You work increases down to where the sleeve connects under the arm. Then you will work a few decreases to narrow down to the cuff. Also, use stitch markers to mark your rows. I had to otherwise I kept loosing my place of where rows started and stopped.
If none of this helps please let me know which part is getting you stuck.
Cathy
I’m on the sleeve now, does it start from the cuff or the shoulder? As my ch18 and then the ensuing motifs (4) are in no way going to fit around my wrist?
The sleeves start at the shoulder. This way, as you work towards the cuff it is easier to lengthen or shorten the sleeve length as you need without having to redo the entire sleeve.
Ahh so the steps as it increases will be sewn into the armhole?
That is correct!
I’ve just started and my 58 fsc seems very very long? I’m doing the L, but if this is vertical, it’s already past my bottom, without the patterned bit. Is there a dimension from shoulder to waist that I can work to?
I’ve gone down 2 full hook sizes, and 58 stitches goes shoulder to waist, will carry on and see how I go?
Sorry to hear you have concerns with the length. The gauge is 4” x 4” = 12 hdc x 11 rows. So there are 3 hdc in each inch, the fsc would be similar gauge lenght wise. 58 fsc would equal 19.33 inches. The detail at the bottom adds about 5 more inches. If you are have gone down in hook size, please be sure that you are still making 11 rows be 4 inches. If you are getting less rows in 4 inches then the cardigan will be smaller going around bust wise, just be sure it won’t be too small for you.
I have measured my work and it’s 19.25 inches. I have done 2 more rows across the back(going up to xl from l) and am now on the second armhole shaping. So far so good 😃
Yay – so glad to hear! Keep me posted!
Very chic
Hi. I’m having a problem understanding what I’m to do on the 7th step after the “all sizes begin decrease. For size M, L, XL, 2xl and 3xl only.
Ch 3 turn, Begin in 2nd chain from hook 35 HDC. Do you mean to ch 3, 1 hdc in 2nd ch from hook and then continue on to do 35 hdc in the rest of that row? ?
At this step you are beginning to reverse the shaping that you just did for the armhole. Starting in the 2nd chain from the hook hdc. Hdc in the next chain. You will then make 33 more through the rest of the row – totaling 35 hdc in the row.
Beautiful! Unfortunately, it looks like the yarn you used has been discontinued. Do you have any ideas for substitutions?
It does appear the color has been discontinued, but online there are other colorways that are available. As to a substitute, I would look for a loosely plied yarn with some halo/fuzzyness and 8 wpi.
Since the sleeves rows are jagged, do you have any advice on how to best sew them together??
Find the starting Ch2 of the last row, and the last dc of that row. Line them up to each other. Then, working your way up the sleeve place stitch markers to nest the jagged edges into each other. Line up the motifs as best as you can from one side to the other. Stop seaming when you reach the decreases for the upper arm hole.
Hope this helps! Cathy
lovely design!
Hi Cathy, I have been crocheting for only a couple of months – I am an avid knitter of sweaters 🙂 – so please forgive me if this is a dumb question: For size M, for what would be Row 38 (not counting the FSC as a row, but starting the row counting at the first HDC row), where the increase directions say “Next Step: Chain 5 turn. Beginning in 2nd chain from hook 40 HDC.” Should this be “Chain 4” instead? Sorry if I am way off base, but I love this sweater and really want to make sure I am doing it correctly. Best regards, Theresa
Thank you for catching this! You are correct, it should be Chain 4 for a size M. I am glad that you like the sweater and will wear yours as much as I am mine.
Lovely sweater and looks so warm. I love the stitch on the sleeves, edges of the collar & at the bottom, adds a pop that a lot of other patterns don’t have.
Thank you! I hope you enjoy it as much as I do wearing it on these cold days we have been having.
That is absolutely beautiful, Kathy!
Thank you so much, Patti!