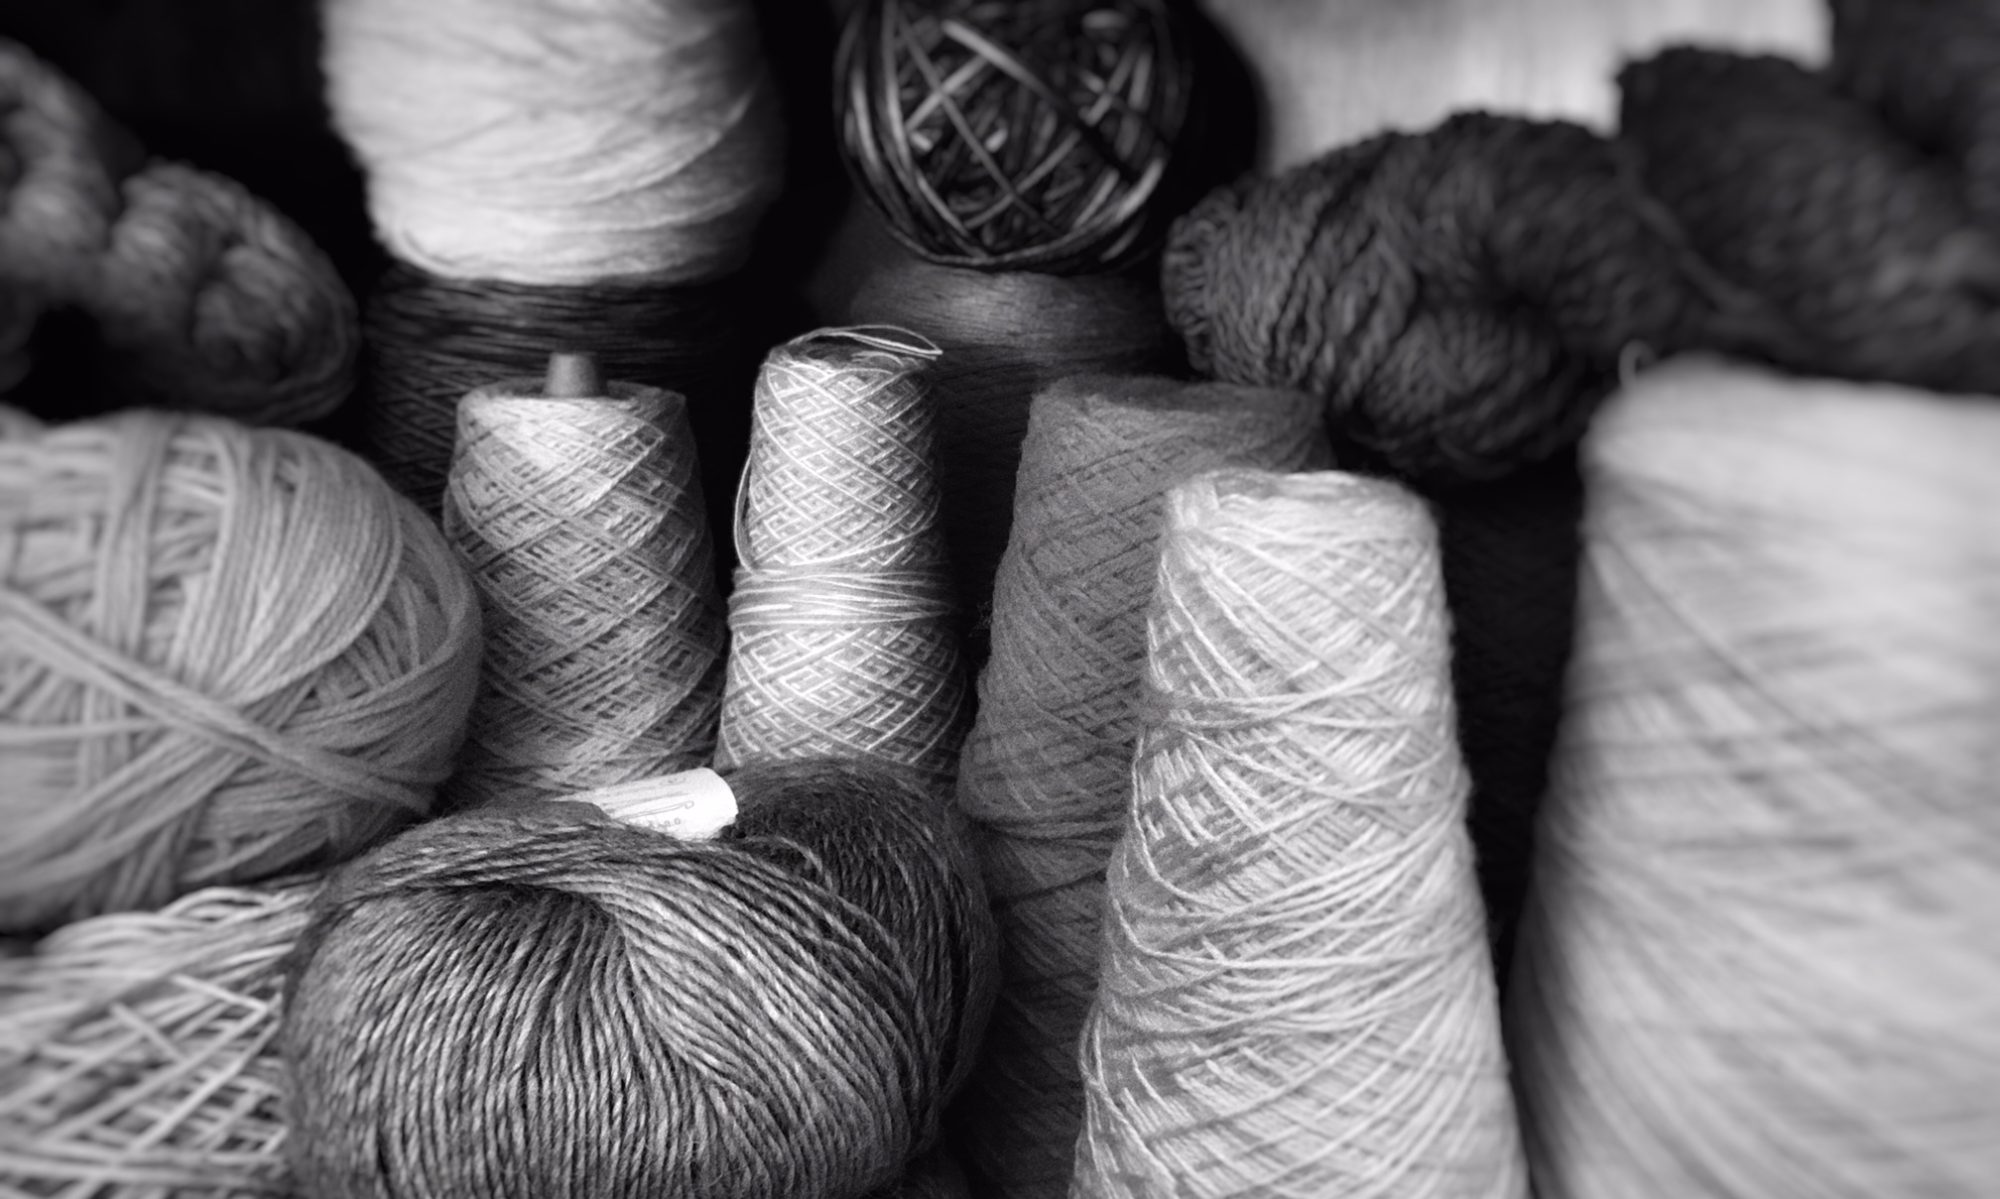

Are you a shawl person? I didn’t consider myself one, besides wearing one as a scarf or a neck piece in winter. However, this pattern has changed me!
I am now finding myself chilled, and instead of grabbing a blanket or layering on a sweater I just drape this around myself. It has enough warmth to make a difference, but is so light and easy to wear it doesn’t make me feel like I am wearing some heavy and bulky item that restricts my movements.

this post contains affiliate links
This shawl is made up of three panels. A center portion with equal decreases on each side to make it a triangular shape, and then two mirror imaged sides that are also triangular, but one side decreases at a drastic rate to form the point and long edge of the wrap.
All of the patterns are created off of two lace stitch patterns, pattern A and pattern B. While both patterns have yarn overs and decreases to form the lace patterns, pattern A also includes some purl stitches on the front side of the work to increase the textural and design elements along the bottom.
Once you learn the repeat of the patterns, which the charts below and the included Youtube tutorial walks you though each of them, it is like magic to see the shapes and patterns form from row to row. Once you’ve finished creating all that knitting magic, you’ll discover the true magic happens when you realize you reach for this shawl time and time again, wearing it much more than you thought you would.

Be sure to look at our other knitting patterns:


Knit Wingspan Shawl
by City Farmhouse Studio
See the Machine Knit version HERE
Get the printable PDF version of the pattern (without ads) HERE
Add this pattern to your Ravelry queue HERE
Baby Bee Sweet Delight – 4oz/155g – 377 yd/345m – 60% Acrylic, 40% Polyamide- Category 3 Light – 13 WPI – 2 skeins (alternative yarn suggestions – Lion Brand Baby Soft, Cascade Yarns Cherub DK)
Needles: US 8 (5.00mm)
Tapestry needle
Gauge 4” x 4” = 17 sts x 24 rows stockinette
Size: 18.5” wide x 80” long
A YouTube tutorial video showing the sts and each step of the shawl construction can be found at: https://youtu.be/MMw9q6StJBg
Key

Pattern A


Pattern B

Center Panel
To begin, long tail cast on 111 stitches. Following Center Panel chart and Detail Center Panel charts, follow repeat Pattern A for bottom section and decrease one stitch each side every two rows. Follow Pattern B for top lace section, still decreasing one stitch each side every two rows. Bind off.

Detail of Center Panel Bottom Right Corner with Decreases

Detail of Center Panel Bottom Left Corner with Decreases

Detail of Center Panel Top Section

Left Panel
To begin, long tail cast on 144 stitches. Following Left Panel chart and Detail Left Panel charts, follow repeat Pattern A for bottom section and decrease one stitch every two rows on the left side of the bed. Decrease one stitch every 6 rows on the right and every other row on the left. Follow Pattern B for top lace section with decreasing one stitch every row on the left, and continue to decrease one stitch every 6 rows on the right. Bind off.

Detail of Left Panel Bottom Right Corner with Decreases

Detail of Left Panel Bottom Left Corner with Decreases

Detail of Left Panel Top Section

Right Panel
To begin, long tail cast on 144 stitches. Following Right Panel chart and Detail Right Panel charts, follow repeat Pattern A for bottom section and decrease one stitch every two rows on the right. Decrease one stitch every 6 rows on the left. Follow Pattern B for top lace section, decrease one stitch every row on the right, and continue to decrease one stitch every 6 rows on the left. Bind off.

Detail of Right Panel Bottom Right Corner with Decreases

Detail of Right Panel Bottom Left Corner with Decreases

Detail of Right Panel Top Section

Once all panels are complete, seam short ends of side panels to center panel. Block.
Optional, add a single crochet or an I-cord edge to create thicker border on top edge of shawl (not shown).


Discover more from City Farmhouse Studio
Subscribe to get the latest posts sent to your email.
I really like this shawl & would like to purchase the pattern. It’s the pattern written in the accepted language (k1, p2, SL1 wrn k2tog, etc) or is it merely a printed version of the “paint by numbers” sheet? Thank you.
Thanks for reaching out. The pattern for purchase is a pdf of the pattern written along by with the charts on the website with no ads. It is made to be easy to print.
The right panel’s a bit confusing; I did the correct amount of stitches, did the two rows of knit and purl, but the third row is where it’s confusing. By the time I get to the end of the row, I only have four stitches with the last center double decrease with no yarn over or no extra stitch. What should I do?
It is hard to say without seeing what you have knit. Stating obvious, but I have done it, make sure you are referencing the correct chart. Did you start the row with the 4 knit stitches before doing a center double decrease? I would first go to the far right of the row chart and check what you knit to it. Usually when I am off at the end I have skipped a section, added extra stitches somewhere, or repeated something too many times.
Hey Cathy, I have seen the chart for the right panel many times and at first I did exactly as the third row showed by knitting 2 together for the third row, but then I realized if I don’t knit 2 together then I get the correct amount of stitches left on the needles. So I’m glad I figured it out.
Glad you were able to figure it out. It took me a while when I first started knitting to figure out that on the charts I have to do what the symbols say, and not based on where the blocks are. Once I got into the habit of reading the line first to understand where the decreases and increases are things got easier to understand.