
I am so thrilled about this new sweater design for the machine knitting: the Diamond Canvas Sweater. This pullover was specifically developed for the LK150 mid-gauge knitting machine, offering a beautiful, textured piece that is straightforward to construct on a machine without patterning capability.
note: this page contains affiliate links

Key Features of the Diamond Canvas
This pattern is an excellent choice for knitters ready to tackle their first garment or for those who appreciate simple but not basic and boring styles.
- Designed for the LK150: All instructions are clearly written for the single bed flatbed machine, making it accessible for machine knitters.
- Textured Interest: The “canvas” effect is achieved using a simple yet effective Tuck Stitch pattern, which runs down the center of the front and back panels, and gently borders the sleeve cuffs. Written for hand manipulation, but can easily be made into a punchcard or programmed into your electronic machine.
- Inclusive Sizing: The pattern provides detailed instructions for a wide size range, from XS through 5X, ensuring a comfortable and flattering fit for everyone.
- Clean Finishing: The entire garment is finished with a neat I-Cord Edging around the hem, cuffs, and square neckline, providing a professional, ready-to-wear look.
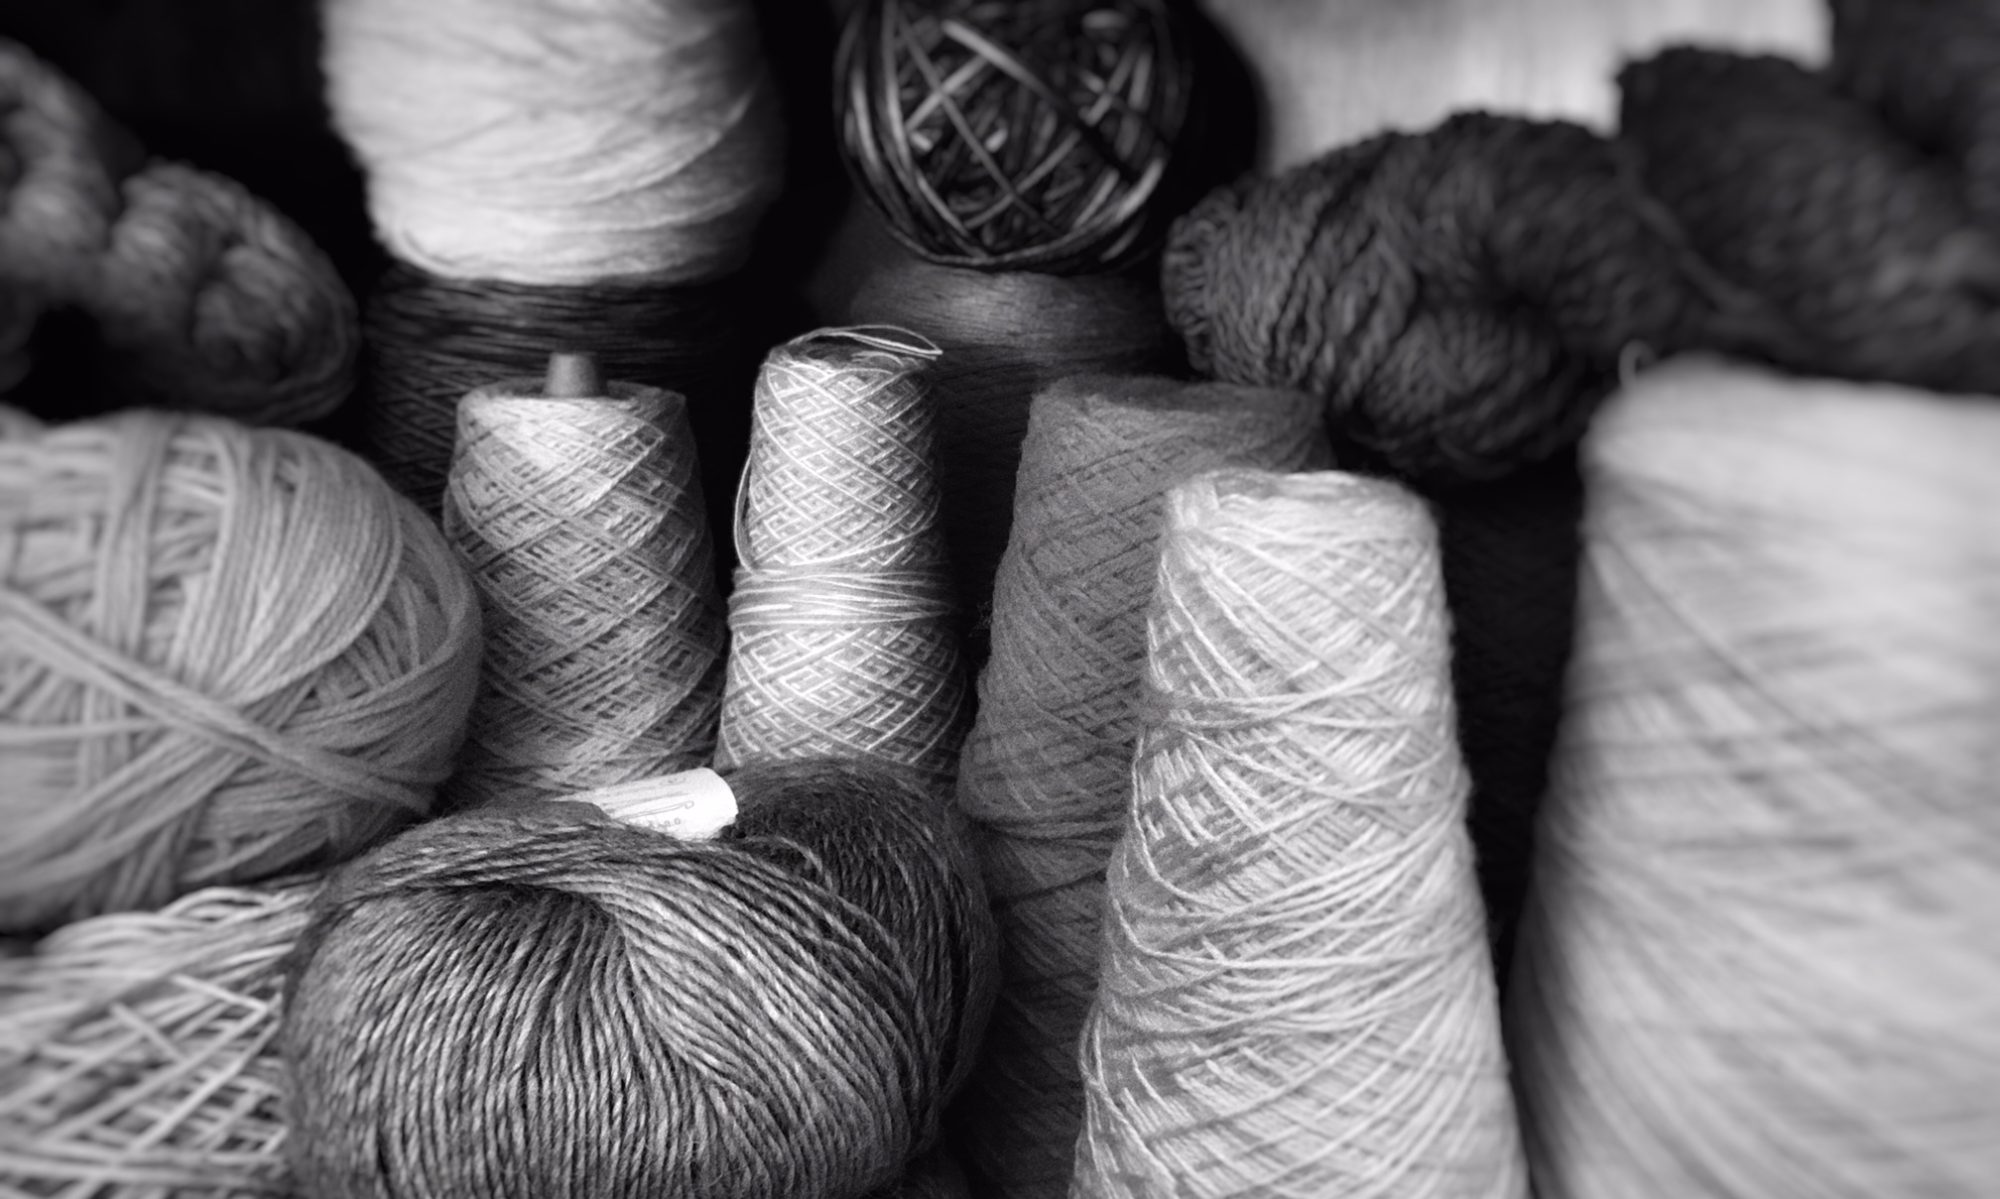
- Recommended Yarn: Knit using Loops & Thread Luxe Merino but other yarn recommendations are listed in the pattern below.

This sweater combines minimal shaping with maximum visual impact. The tuck details round the cuffs really set the design at another level. The square neckline is also easy to construct, and it works great for the geometric design of the tuck stitches.
The included Youtube shows exactly how to create the tuck stitches, and there is an additional one entirely on I-Cords so you won’t have any doubt on how to complete this sweater.
This sweater is so warm, comfortable and easy to wear. It is also perfect to dress up or down to suit the occasion, I can see this becoming my new favorite sweater this season. Ready to knit your new favorite pullover also?
Other knitting patterns by City Farmhouse Studio:


Machine Knit Diamond Canvas Sweater
by City Farmhouse Studio
Get the printable PDF version of the pattern (without ads) HERE
Add it to your Ravelry queue HERE
Loops & Thread – Luxe Merino – 5.3oz/150g – 410yd/375m – 55% Superwash Merino, 45% Acrylic – Category 3 Lt/DK – 12 WPI – 3 (3, 3, 4, 4) [4, 5, 5, 5]
Alternative yarn options: Sirdar Country Classic DK,King Cole Majestic DK , Valley Yarns Haydenville DK
Gauge 4” x 4” = 21 sts x 27 rows of stockinette; 21 st x 40 rows tuck
Single, Mid-Gauge, Flat Bed Machine (LK150)
Ravel Cord
Waste Yarn
Dry Erase Markers (optional)
Size: XS (S, M, L, XL) [2X, 3X, 4X, 5X]
Finished Garment Bust Width: 19.25 (20.75, 22.25, 24.5, 26.5) [28.75, 30.25, 33.25, 35.25] inches.
Finished Garment Length: 20.5 (21, 21.5, 21.75, 21.75) [22.25, 22, 22.5, 22.75] inches.
Cuff to Cuff Length: 59.75 (61.75, 62.75, 65, 67) [67.75, 69.25, 70.25, 70.25] inches.
Side Panel Width: 5.75 (6.5, 7.25, 8.5, 8.75) [10, 10.75, 12.25, 12.5]
Side Panel Length: 41 (42, 42.75, 43.25, 43.25) [44.25, 43.75, 45, 45.25]
Front and Back Tuck Panel Width: 7.75 (7.75, 7.75, 7.75, 9) [9, 9, 9, 10]
Front Tuck Panel Length: 16.75 (17.5, 17.5, 18, 18.5) [18.5, 18.5, 18.75, 18.75]
Back Tuck Panel Length: 18.75 (19.5, 19.5, 20, 20.5) [20.5, 20.5, 20.75, 20.75]
Sleeve Width at Shoulder: 11.75 (12.5, 13, 14, 15.75) [17.5, 19.25, 20.5, 21]
Sleeve Length: 20.25 (20.5, 20.25, 20.25, 20.25) [19.5, 19.5, 18.5, 17.5]
Garment Layout

A YouTube tutorial video showing the sts and each step of the construction can be found at: https://youtu.be/80P_0GXbSYQ
A YouTube tutorial video showing more in depth information on I-cords can be found at: https://youtu.be/Zmu7HwnaLZw
Glossary
COR – carriage on right
Sts – stitches
RC – row count
Tuck Pattern – 6 st and 8 row repeat

Front Panel
Beginning with waste yarn and ravel cord, COR, row counter set to 000, e-wrap cast on 41 (41, 41, 41, 47) [47, 47, 47, 53] sts. One side of bed will have 20 (20, 20, 20, 23) [23, 23, 23, 26] needles in work, and the other half 21 (21, 21, 21, 24) [24, 24, 24, 27] needles.
Knit 2 rows.
Set up your machine to tuck stitch (where the yarn will layover needles in hold position). Pull the third needle out on one side of the bed. Skip 5 needles and pull out the next. Keep pulling out every sixth needle until you reach the other side of the bed. 2 needles should be between the edge and last needle pulled out. Mark the tops of these needles with a dry erase marker to reference later. Knit 4 rows.
Push the needles in hold back into work. Pull the middle needle of the group that was in work out to hold position. One needle every 6 needles will be in hold. Mark the tops of these needles differently to reference later. Knit 4 rows.
Continue alternating between the two color groups of needles in hold, making 4 rows of tuck stitch before changing needle color in hold for a total of 164 (172, 172, 176, 180) [180, 180, 184, 184] rows. RC 166 (174, 174, 178, 182) [182, 182, 186, 186].
Set machine to knit all needles. Knit 2 rows. RC 168 (176, 176, 180, 184) [184, 184, 188, 188].
Bind off.

Back Panel
Beginning with waste yarn and ravel cord, COR, row counter set to 000, e-wrap cast on 41 (41, 41, 41, 47) [47, 47, 47, 53] sts. One side of bed will have 20 (20, 20, 20, 23) [23, 23, 23, 26] needles in work, and the other half 21 (21, 21, 21, 24) [24, 24, 24, 27] needles.
Knit 2 rows.
Set up your machine to tuck stitch (where the yarn will layover needles in hold position). Pull the third needle out on one side of the bed. Skip 5 needle and pull out the next. Keep pulling out every sixth needle until you reach the other side of the bed. 2 needles should be between the edge and last needle pulled out. Mark the tops of these needles to reference later. Knit 4 rows.
Push the needles in hold back into work. Pull the middle needle of the group that was in work out to hold position. Mark the tops of these needles differently to reference later. Knit 4 rows.
Continue alternating between the two groups of needles in hold, making 4 rows of tuck stitch before changing for a total of 184 (192, 192, 196, 200) [200, 200, 204, 204] rows. RC 186 (194, 194, 198, 202) [202, 202, 206, 206].
Set machine to knit all needles. Knit 2 rows.
RC 188 (196, 196, 200, 204) [204, 204, 208, 208].
Bind off.
Side Panels
Beginning with waste yarn and ravel cord, COR, row counter set to 000, e-wrap cast on 30 (34, 38, 44, 46) [52, 56, 64, 66] sts. Each side of bed will have 15 (17, 19, 22, 23) [26, 28, 32, 33] needles in work.
Knit 98 (100, 100, 98, 94) [90, 84, 84, 82] rows and mark edges for sleeve location.
Knit 16 (18, 20, 24, 28) [36, 40, 44, 48] rows and mark edges for top of front neck location. RC 114 (118, 120, 122, 122) [126, 124, 128, 130].
Knit 24 rows and mark edges for top of shoulder location. RC 138 (142, 144, 146, 146) [150, 148, 152, 154].
Knit 10 rows and mark edges for top of back panel location. RC 148 (152, 154, 156, 156) [160, 158, 162, 164].
Knit 30 (32, 34, 38, 42) [48, 54, 58, 60] rows and mark edges for sleeve location. RC 178 (184, 188, 194, 198) [208, 212, 220, 224].
Knit 98 (100, 100, 98, 94) [90, 84, 84, 82] rows. RC 276 (284, 288, 292, 292) [298, 296, 304, 306].
Bind off.
Repeat to make second side panel.

Sleeve
Pick up a side panel edge between the two sleeve markings and hang over 62 (65, 68, 74, 83) [92, 101, 107, 110] needles. Each side of bed will have 31 (33, 34, 37, 42) [46, 51, 54, 55] needles in work.
Knit 116 (118, 116, 116, 116) [112, 112, 104, 98] rows.
Take sleeve off of needles on ravel cord and waste yarn. Turn work and rehang on same needles so stockinette side of sleeve faces you. Set machine up for tuck stitches. Reset RC to 000. Pull the third needle out on one side of the bed. Skip 5 needle and pull out the next. Keep pulling out every sixth needle until you reach the other side of the bed. Pattern may not end with only 2 needles at end depending on size. Mark the tops of these needles to reference later. Knit 4 rows.
Push the needles in hold back into work. Pull the middle needle of the group that was in work out to hold position. Some sizes will have space for a needle at the end of the bed. Mark the tops of these needles differently to reference later. Knit 4 rows.
Continue alternating between the two groups of needles in hold, making 4 rows of tuck stitch before changing for a total of 16 rows.
Knit 1 row.
*Decrease 1 stitch. Leave 1 (1, 1, 0, 0) [0, 0, 0, 0] needle with only one stitch. Decrease the next stitch onto the next needle.* Repeat form * to * a total of 12 (13, 13, 18, 20) [23, 25, 26, 27] times. Move all stitches in work together. Stitches in work 38 (39, 42, 38, 43) [46, 51, 55, 56].
Knit 1 row.
3 needle I-cord bind off around cuff. (Note: for video reference on I-cords – https://youtu.be/Zmu7HwnaLZw)
Make second sleeve on other side panel.
Construction
Sew front panel to sections of side panels from bottom to marking for top panel. Sew back panel to sections of side panels between other end of panel and its marking.
Join one side of sleeve cuff to other side of cuff and sew down to hem.
Apply a 5 needle I-cord around neckline and hem.
Join other side of sleeve together all the way down to hem.
Weave in ends.
Block.
Discover more from City Farmhouse Studio
Subscribe to get the latest posts sent to your email.