
Recently I made the crochet Beyond the Sea Shawl and realized it had been a while since I did a knit shawl. Now, since the Estrela Lace machine knit shawl pattern is rectangle, I wanted to make one that was either triangular or crescent in shape.
Being machine knit, and working on an LK150 with a limited amount of needles posed a major constraint. To get the angles I wanted for the shape of the shawl using only 150 needles available on the mid gauge, the gauge would need to be so open that the stitches wouldn’t look right. Another hurdle was getting the rate of decrease to be easy to remember and work with, and not something that was really random and hard to remember as you were making the shawl.

this post contains affiliate links
To combat both of the these, I created the shawl in three panels. A center triangular shape with equal decreases on other sides, and then the two side panels that have a very slow taper, and an edge that decreases quickly to form the top edge of the shawl. By combining these shapes a crescent shawl is achieved through just 150 needles, and all the decreases are made on the edge of the panels for ease of working.
The shawl is created using three sections of patterning. The bottom edge motif that creates triangular points along the bottom edge, and the three rows of eyelets framed by garter rows are combined to create a Pattern A repeat section. It is a 12 needle repeat. The lace motif that forms the main body of the panel is the Toyota Punchcard #20 pattern and is a 24 needle repeat. This pattern is labeled as Pattern B. While this is a punchcard, I was able to transfer these stitches by hand. By creating 6 cardboard cards to identify what needles need to be moved in the repeat row, I was able to streamline this process for hand transferring. More information about this is in the pattern information below and in the Youtube tutorial.

By breaking each section down and focusing on row by row, this pattern that appears complicated is just a group of stitches shifted to either the right or left, and then some stitches that are hand transferred to purls for some interest. Each row is broken down in the YouTube tutorial video, along with information on the side decreases. The complicated eye chart for the pattern suddenly becomes understandable when you see it broken down in parts.
Below you will see the chart for each pattern repeat section, each panel, and then blown up sections of each panel so you can see the edge decreases easier.

With this information you have everything to help you machine knit this Wingspan shawl pattern easily. With all the hand manipulation it does take time, but what is a better excuse to spend more time at your machine!
Be sure to look at our other machine knitting patterns:


Machine Knit Wingspan Shawl
by City Farmhouse Studio
See the hand knit version of the pattern HERE
Get the printable PDF version of the pattern (without ads) HERE
Add this pattern to your Ravelry queue HERE
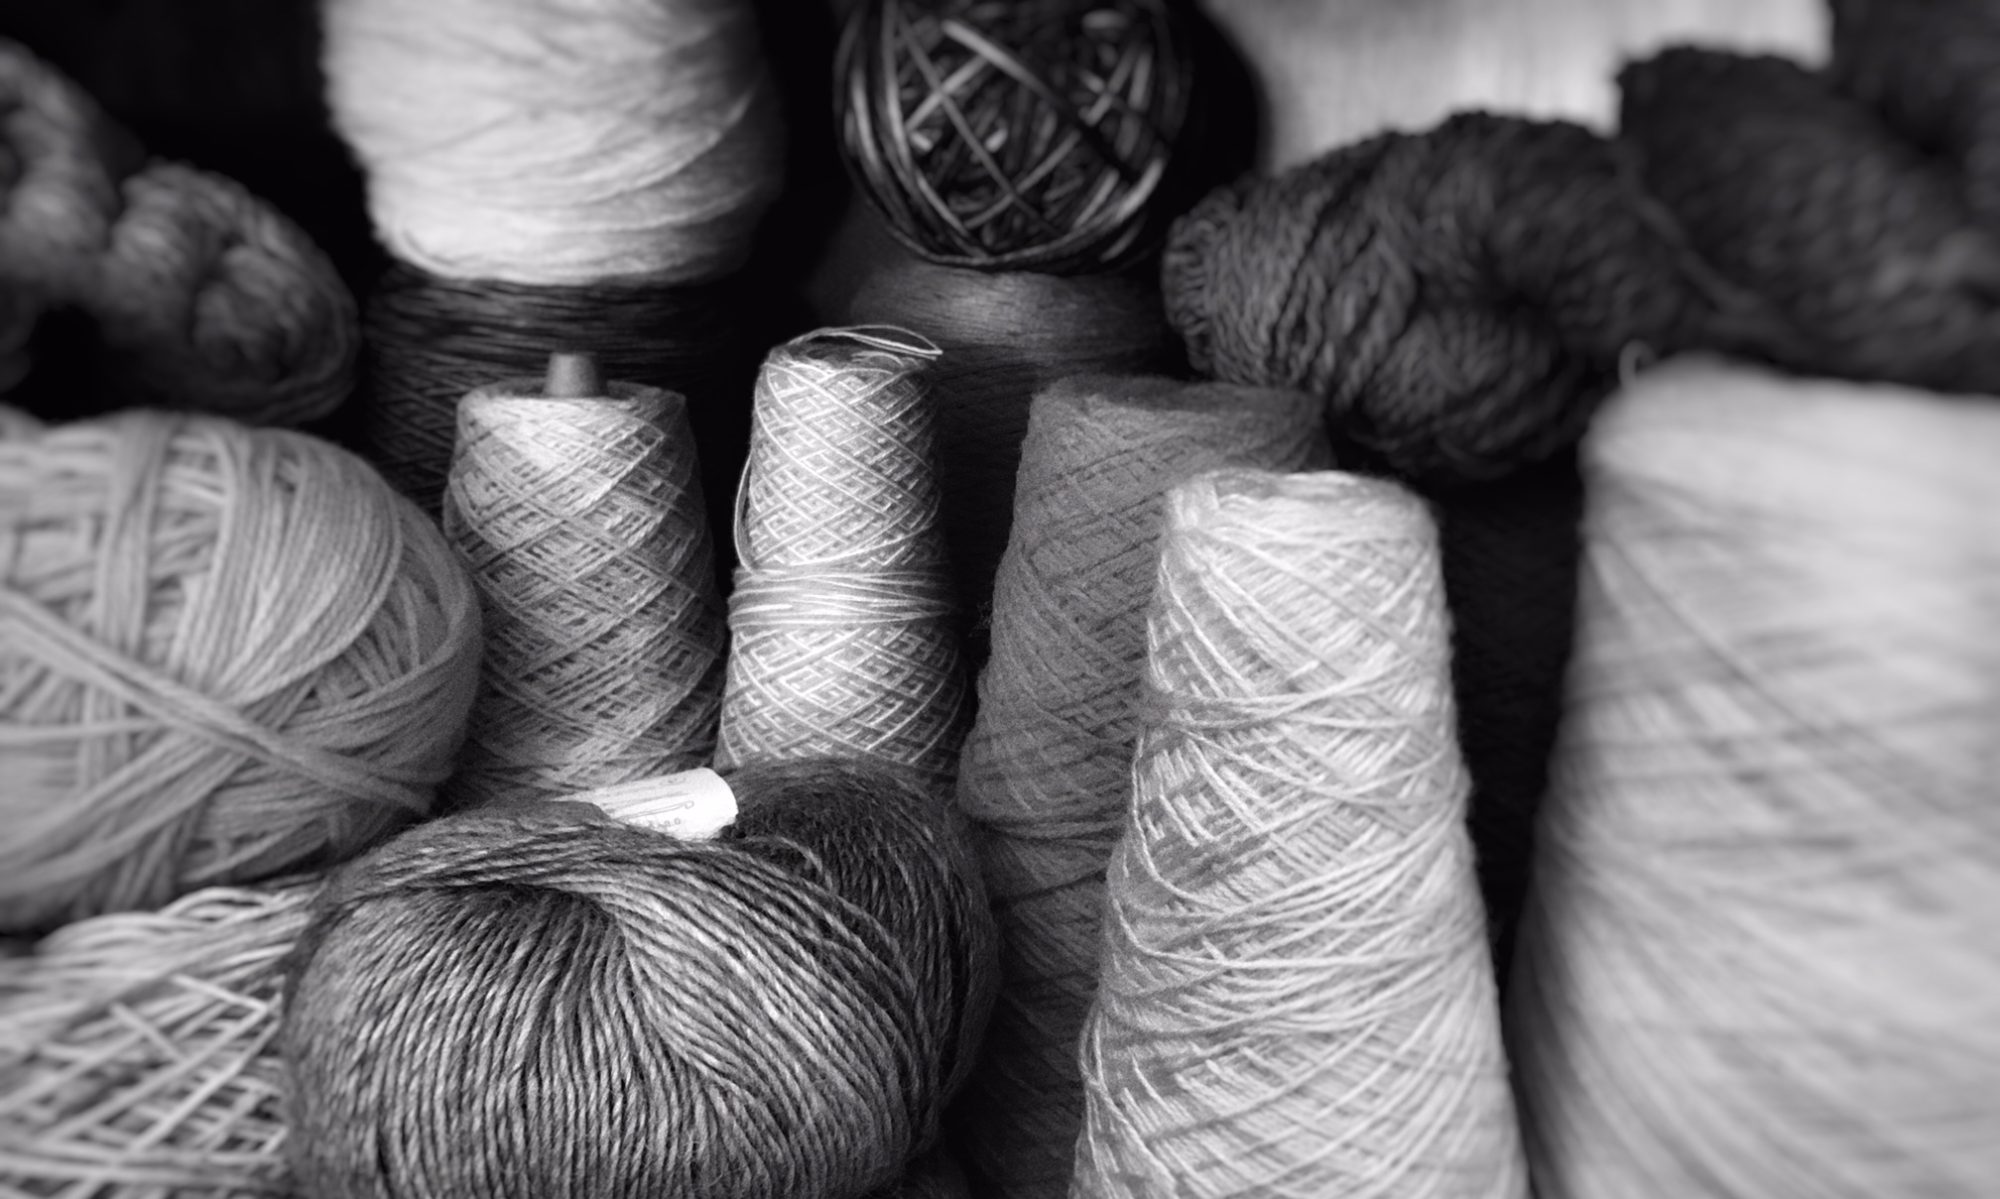
Baby Bee Sweet Delight – 4oz/155g – 377 yd/345m – 60% Acrylic, 40% Polyamide- Category 3 Light – 13 WPI – 2 skeins (alternative yarn suggestions – Lion Brand Baby Soft, Cascade Yarns Cherub DK)
Mid gauge, flat bed, knitting machine – shawl made on a LK150
Latch Tool
Transfer tool (1, 2, and 3 prong)
Needle
Gauge 4” x 4” = 17 sts x 24 rows stockinette
Size: 18.5” wide x 80” long
A YouTube tutorial video showing the sts and each step of the shawl construction can be found at: https://youtu.be/vi3ZNfhzd1M
Note
To create your own cardboard templates for the 6 rows of transfers of Pattern B, measure the length needed for 24 needles on your machine (example shown in YouTube tutorial video). Cut 6 rectangles out that exact width, and high enough for you to easily hold. To make them reusable, cover them with clear tape. Mark each one in the upper corner with a washable marker 1 through 6 to designate which order they are used in. Mark a reference line between needle 1 and 2, and 23 and 24 on each side to help ensure consistent positioning of the cardboard to needles.
Template 1 and 2 – mark the center of needles 2, 3, 4, 17, 18 to move right; and the center of 7, 8, 21, 22, 23 to move left.
Template 3- mark the center of needles 3, 4, 5, 16, 17 to move right; and the center of 8, 9, 20, 21, 22 to move left. Mark a star to reference for decreasing on the side panels.
Template 4- mark the center of needles 4, 5, 6, 15, 16 to move right; and the center of 9, 10, 19, 20, 21 to move left.
Template 5- mark the center of needles 5, 6, 7, 14, 15 to move right; and the center of 10, 11, 18, 19, 20 to move left.
Template 6- mark the center of needles 6, 7, 8, 14 to move right; and the center of 11, 17, 18, 19 to move left. Mark a star to reference for decreasing on the side panels.
A digital image download of the original Toyota punchcard pattern can be found at https://mkmanuals.com/toyota-ks901-punchcard-set.html


Pattern A

Pattern B

Center Panel
To begin, with carriage on right, e-wrap cast on 56 needles on the right side of the bed and 55 needles on the left. Knit 2 rows. Following Center Panel chart and Detail Center Panel charts, follow repeat Pattern A for bottom section and decrease one stitch each side every two rows. Follow Pattern B for top lace section, still decreasing one stitch each side every two rows. Bind off.

Detail of Center Panel -Bottom of Left Bed with Decreases

Detail of Center Panel -Bottom of Right Bed with Decreases

Detail of Center Panel Top Section


Left Panel
To begin, with carriage on right, e-wrap cast on 72 needles on each side of the bed for a total of 144 needles. Knit 2 rows. Following Left Panel chart and Detail Left Panel charts, follow repeat Pattern A for bottom section and decrease one stitch every two rows on the left side of the bed. Note that the pattern is an even number, so the center position of the diamonds is different than the Center Panel. Decrease one stitch every 6 rows on the right side of the bed. Follow Pattern B for top lace section, decrease one stitch every row on the left side of the bed, and continue to decrease one stitch every 6 rows on the right side of the bed. Bind off.

Detail of Left Panel -Bottom of Left Bed with Decreases

Detail of Left Panel -Bottom of Right Bed with Decreases

Detail of Left Panel Top Section

Right Panel
To begin, with carriage on right, e-wrap cast on 72 needles on each side of the bed for a total of 144 needles. Knit 2 rows. Following Right Panel chart and Detail Right Panel charts, follow repeat Pattern A for bottom section and decrease one stitch every two rows on the right side of the bed. Note that the pattern is an even number, so the center position of the diamonds is different than the Center Panel. Decrease one stitch every 6 rows on the left side of the bed. Follow Pattern B for top lace section, decrease one stitch every row on the right side of the bed, and continue to decrease one stitch every 6 rows on the left side of the bed. Bind off.

Detail of Right Panel -Bottom of Left Bed with Decreases

Detail of Right Panel -Bottom of Right Bed with Decreases

Detail of Right Panel Top Section

Discover more from City Farmhouse Studio
Subscribe to get the latest posts sent to your email.
One Reply to “Machine Knit Wingspan Shawl Pattern”